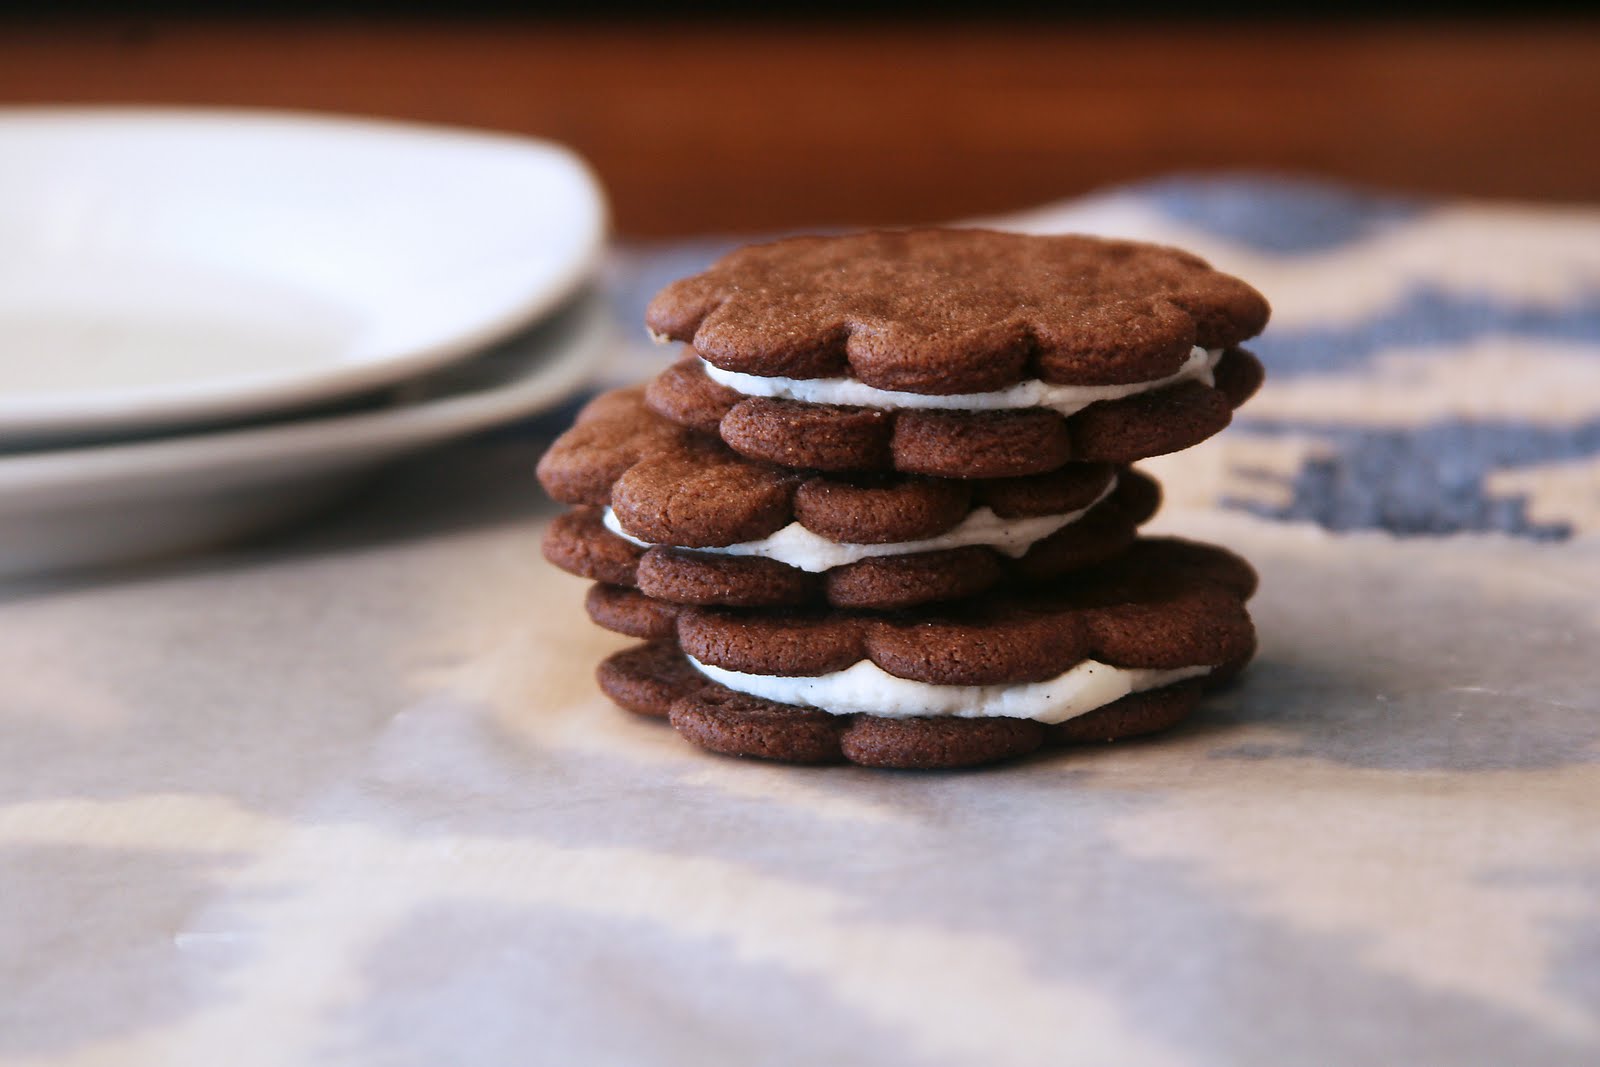
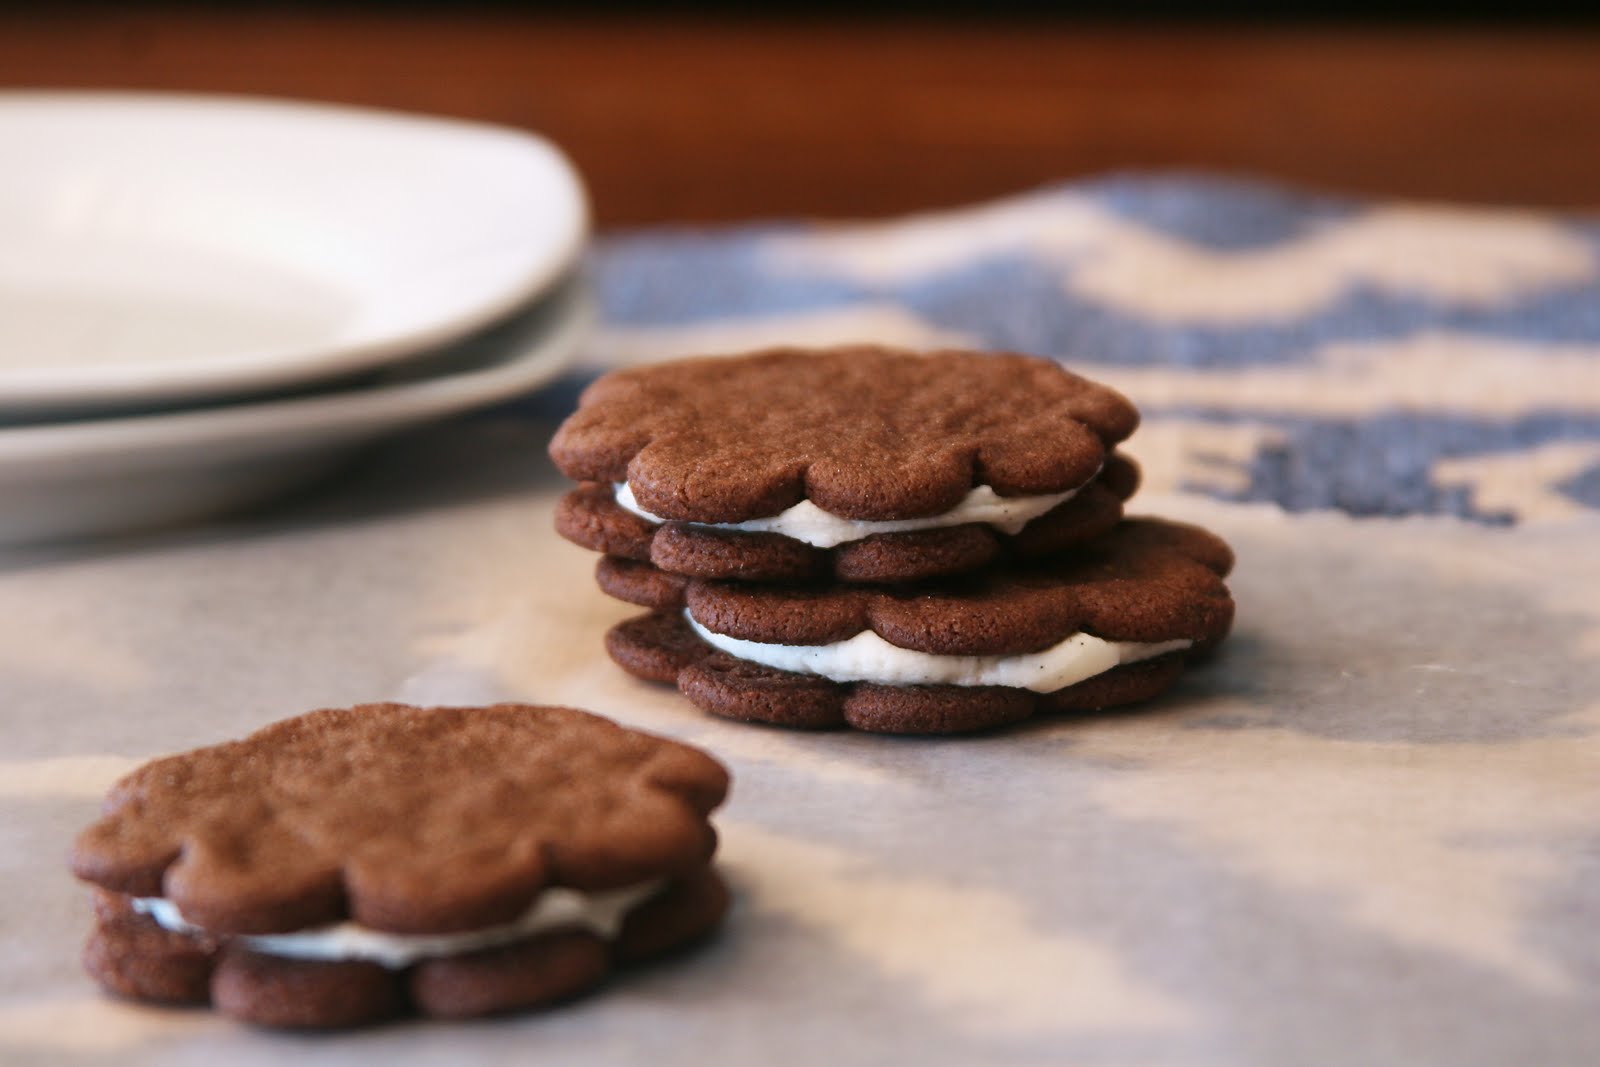
Homemade Oreos
Adapted from Retro Desserts from Wayne Brachman via Smitten Kitchen
(Printable Recipe)
Ingredients:
Cookies
1 1/4 cups all-purpose flour
1/2 cup unsweetened cocoa powder
1 teaspoon baking soda
1/4 teaspoon baking powder
1/4 teaspoon salt
1 1/4 cup sugar
10 Tbsp. (1 1/4 sticks) unsalted butter, softened
1 large egg
2 tsp. vanilla extract
Filling
1/4 cup unsalted butter, softened
1/4 cup shortening
2 cups powdered sugar
1 teaspoon vanilla extract
1 Tbsp. milk
Instructions:
*Set two racks in the middle of the oven. Preheat to 350°F.
*In a food processor, or bowl of an electric mixer, thoroughly mix the flour, cocoa powder, baking soda and powder, salt, and sugar. While pulsing, or on low speed, add the butter, and then the egg. Continue processing or mixing until dough comes together in a mass.
*Transfer dough to a lightly-floured surface. Use a rolling pin to roll the dough to a 1/2-inch thickness. Using a cookie cutter (I used a flower-shaped cutter) slice cookies and place on baking sheet. Bake for 7 minutes, until lightly golden around the edges. Cool 2 minutes on baking sheet, then transfer to cooling rack and cool completely.
*To make the cream, place butter and shortening in a mixing bowl, and at low speed, gradually beat in the sugar, vanilla, and milk. Turn the mixer on high and beat for 2 to 3 minutes until filling is light and fluffy.
*To assemble the cookies, in a pastry bag with a 1/2 inch, round tip, (I just used a zip lock bag with the end snipped off) pipe teaspoon-size blobs of cream into the center of one cookie. Place another cookie, equal in size to the first, on top of the cream. Lightly press, to work the filling evenly to the outsides of the cookie. Continue this process until all the cookies have been sandwiched with cream.
Happy Baking!
Madison


