
A few weeks ago my dear friend Laura asked me if I would be interested in making her son, Eli’s, first birthday smash cake. Laura and I have been friends for years and she has the most amazing blog about life as a stay-at-home mom and DIY/craft expert. Seriously, some day I hope to do half the projects she completes around her house.
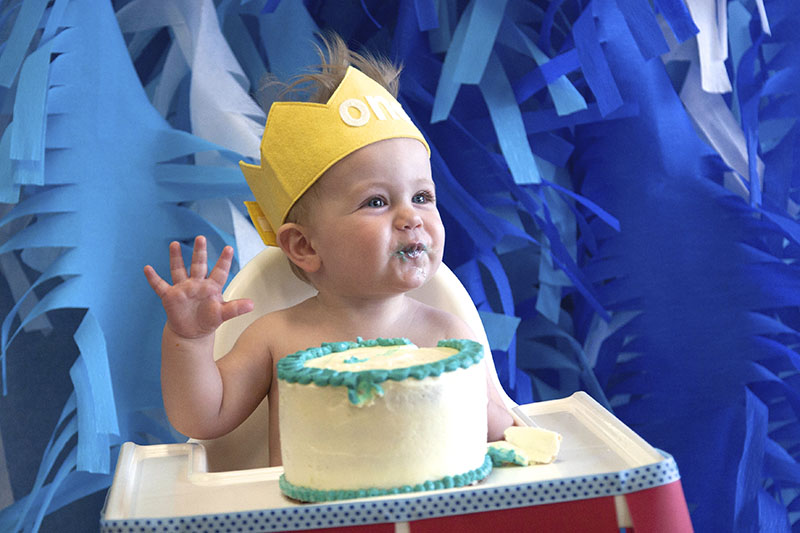
Joe and I both agree on the fact that Laura and Mike’s son, Eli, is one of the cutest kiddos we’ve ever seen. He has this adorable little natural mohawk hair and the sweetest personality. So of course I was trilled to be asked to make his cake!
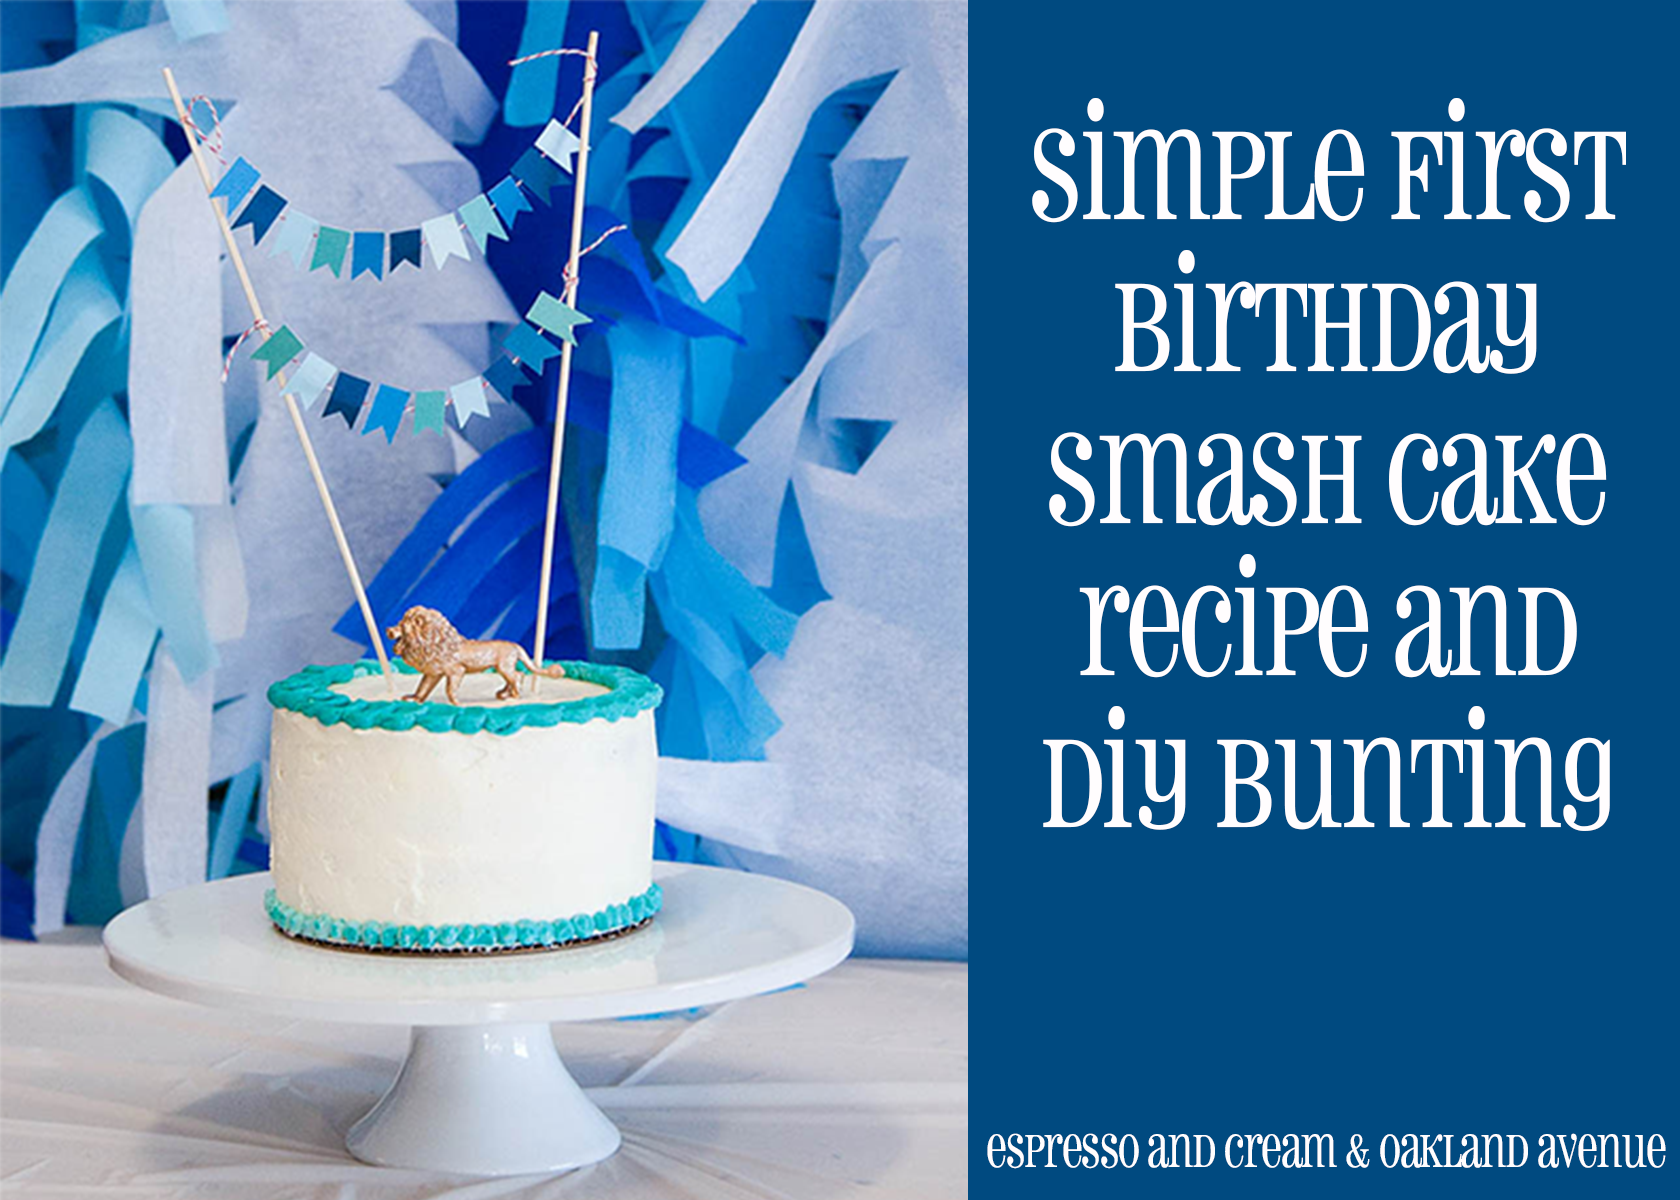
I was also excited to do a little blog collaboration with Laura, something we’ve wanted to do for a while. So I made the cake, and Laura made the adorable flags/bunting on top of the cake. In fact, if you want to know how to make the flag, hop on over to Laura’s blog, Oakland Avenue, today to learn how!
Unfortunately we were planning on being out of town for the actual birthday party, but I made the cake in advance and gave it to Laura a few days before the party. Which, now that I think about it, is a great make-ahead tip for moms who are busy with other party details and want to make their cake in advance. It can be done!
Laura didn’t have a lot of requests for the cake, but she did want it to be slightly healthier in nature. That said, Laura didn’t want to sacrifice having a beautiful cake just to have a healthy cake, so the goal was really to fall somewhere in the middle. For the cake, I made a lower-sugar yellow cake with mashed banana in the batter to add natural sweetness. Since I wanted the cake to still be “smashable” I decided not to use whole wheat flour since that adds denseness.
For the frosting I focused on lower sugar content and went with a Swiss Meringue Buttercream. This type of frosting isn’t healthy by any means, since it does have plenty of butter, but it is much lower in sugar, in fact the entire batch only had 2/3 cup sugar. And since I used organic butter, I figured a little fat is good for babies, right? This is by far my favorite frosting for decorating because it’s so smooth and spreadable, resulting in a very beautiful cake.
- Cake
- Cooking spray and flour for the pans
- 1 cup sugar
- 1 medium ripe banana
- ½ cup butter, softened
- 2 teaspoons vanilla
- 3 large eggs
- 2¼ cups all-purpose flour
- 2 teaspoons baking powder
- ¼ teaspoon salt
- 2¼ cups milk
- Swiss Meringue Buttercream
- 4 egg whites
- ⅔ cup granulated sugar
- 1 teaspoon vanilla
- 1½ cups butter, softened and cut into tablespoon-sized pieces
- Heat oven to 350F. Grease and flour two 6-inch round cake pans. Set aside.
- In the bowl of an electric mixer, beat together the sugar, banana and butter until smooth and well combined, about 2 minutes. Add in the vanilla and eggs, one at a time, beating until combined after each addition.
- In a medium bowl, combine the flour, baking powder and salt. Add some of the flour, followed by all of the milk, finishing with the remaining flour mixture. Beat until just combined, scraping down the sides of the bowl as necessary.
- Bake 28 to 35 minutes or until a toothpick inserted in the center comes out clean. Cool in pans 10 minutes. Run a knife around the edges of the cake and remove from pans. Cool completely on wire cooling racks, about 1 to 2 hours.
- Cut rounded tops off cakes with a serrated knife. Cut each layer in half horizontally to make four total cake layers. Refrigerate cake layers 45 minutes for easier handling.
- Meanwhile, make the buttercream:
- In small saucepan, combine the egg whites and sugar. Cook, stirring frequently, over medium heat until sugar is dissolved and mixture reaches 160F (food safe temperature) with a candy thermometer. If you don't have a candy thermometer, the egg white mixture should be very warm to the touch and sugar completely dissolved.
- Transfer egg white mixture to an electric mixer fitted with a whisk attachment. Beat egg whites on high speed about 8 to 10 minutes or until bowl of electric mixer is no longer warm to the touch. Add the vanilla and the butter, one pat at a time, until the mixture is smooth, creamy and has the texture of buttercream frosting. If the mixture separates while adding the butter, don't worry. Just keep on whisking on high speed until it comes back together.
- Place one cake layer on cardboard cake round. Top with some of the buttercream. Repeat with remaining cake layers until you have a four tiered cake. Use a small amount of buttercream to coat entire cake with a crumb coat, about ½ cup buttercream total, just enough to create a smooth surface on the outside of the cake.
- Reserve ⅔ cup of buttercream for decorative detailing. Use remaining buttercream to coat outside of cake with a smooth layer of buttercream.
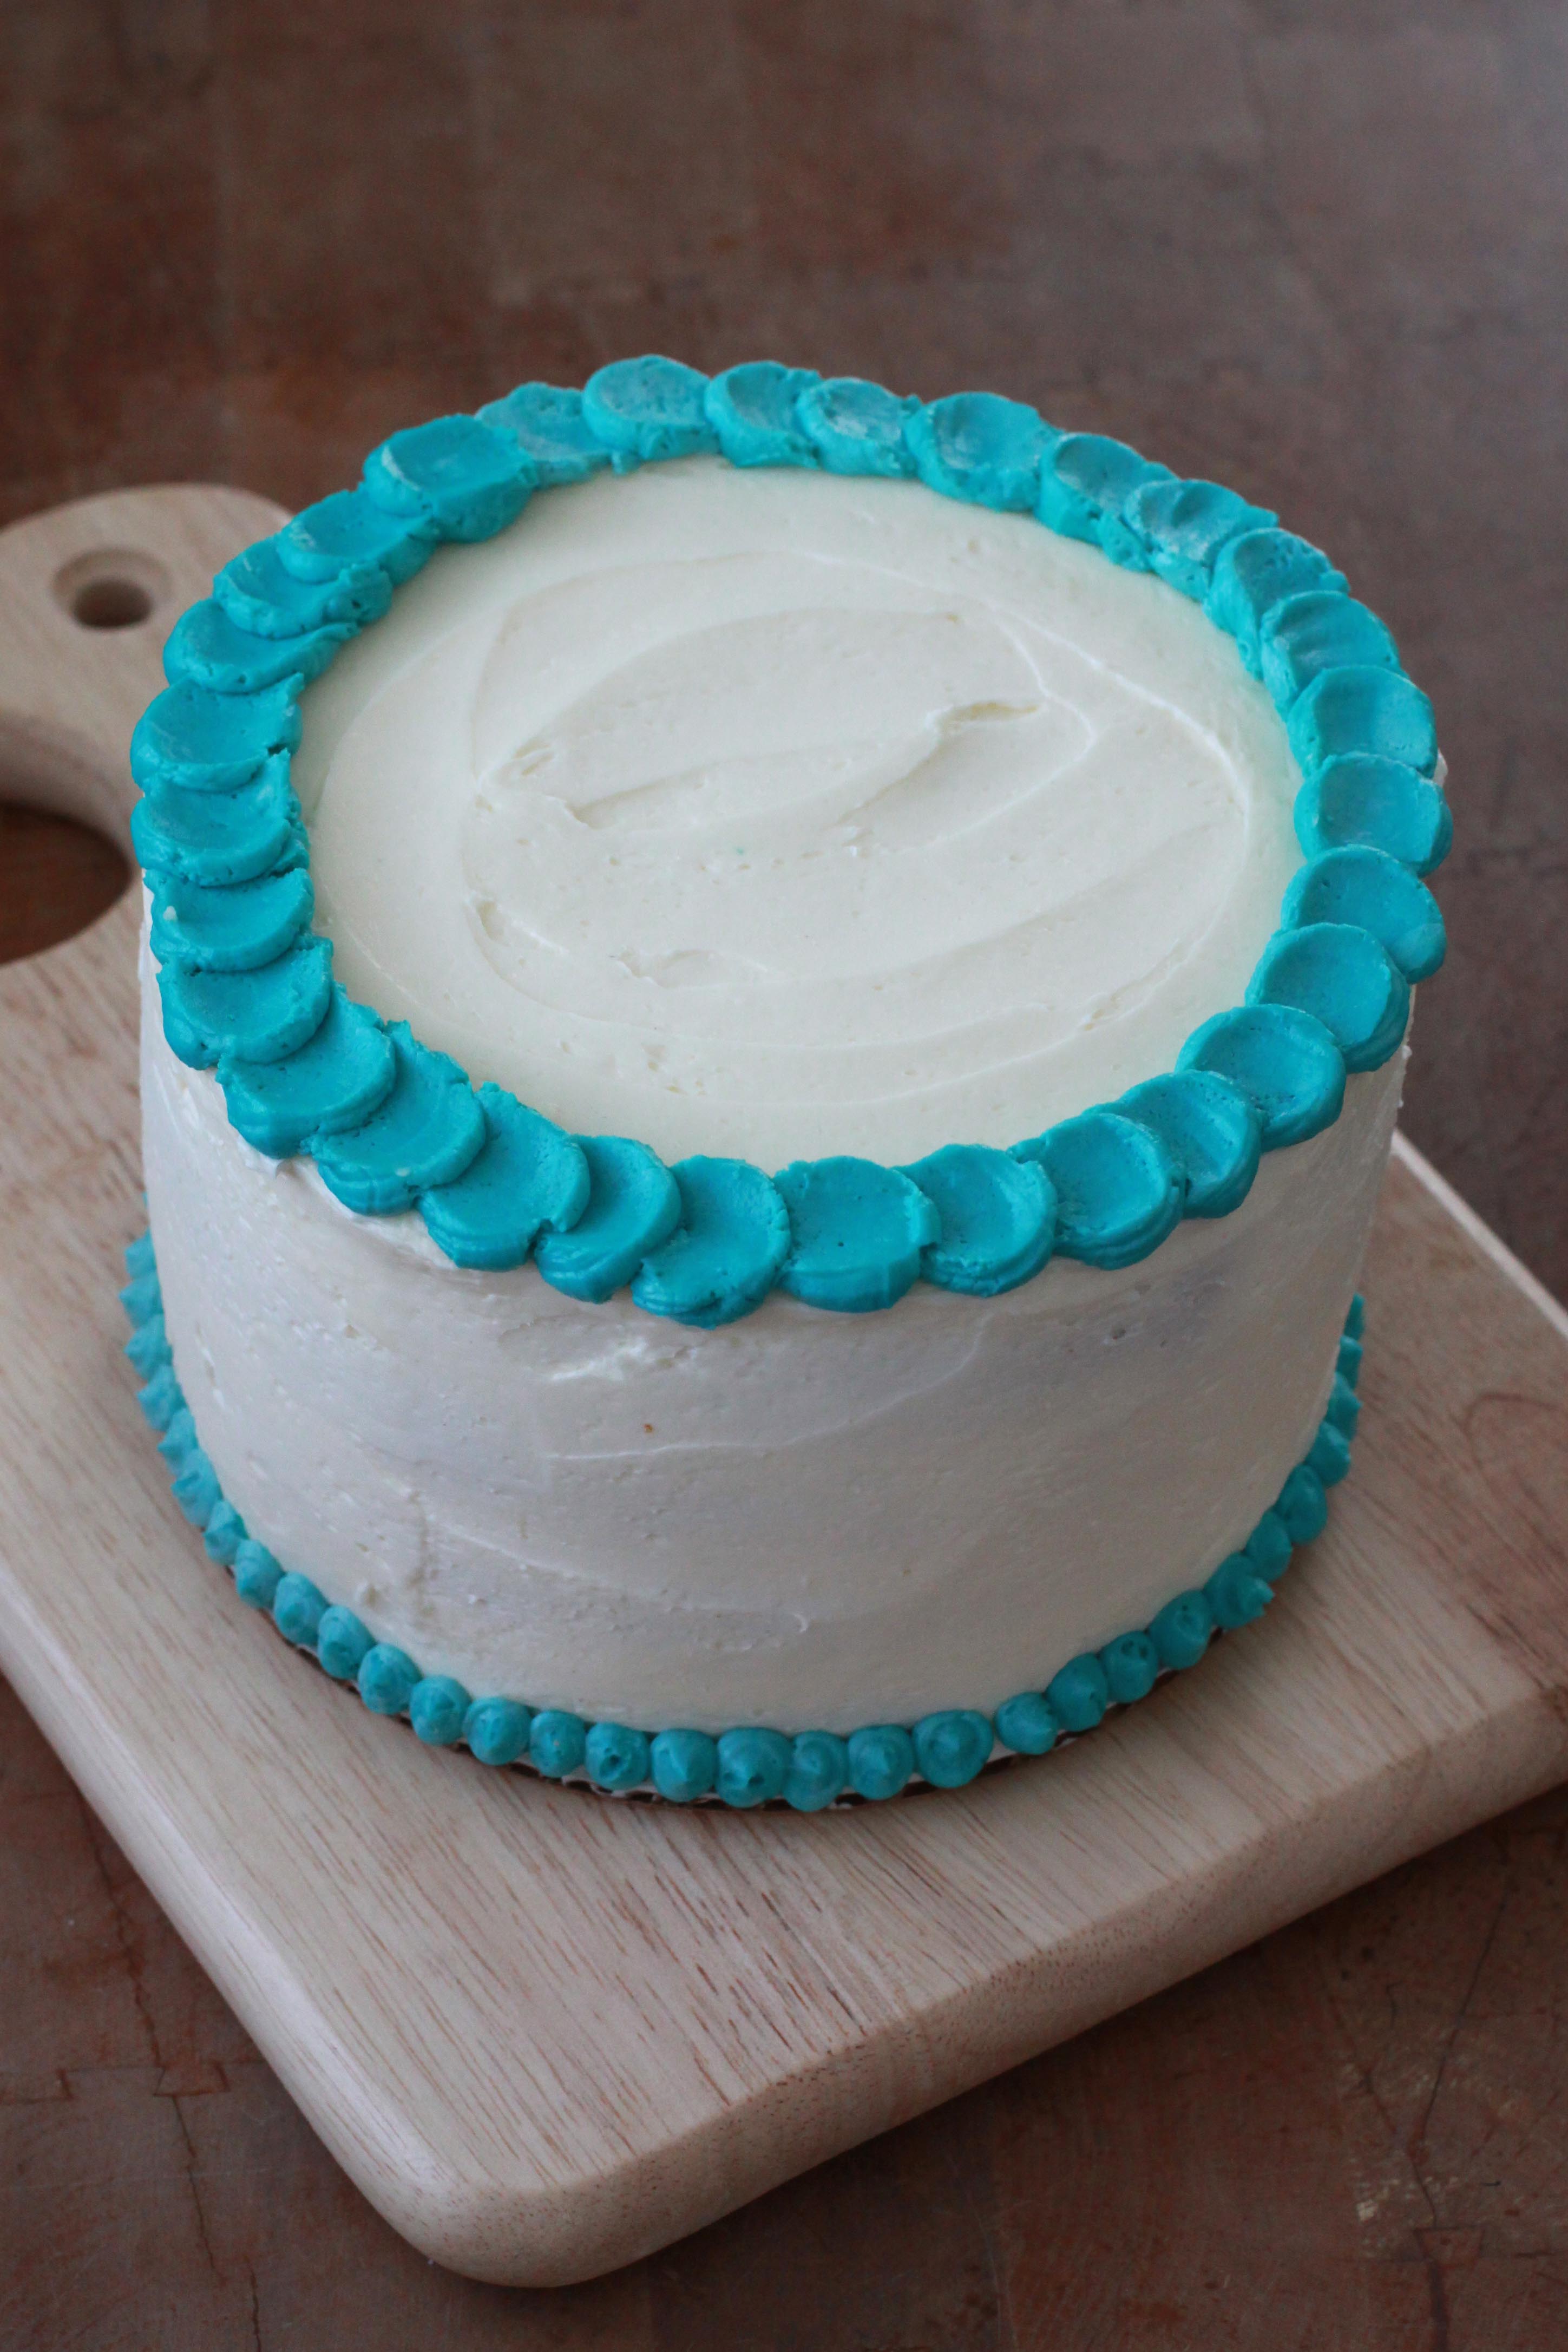
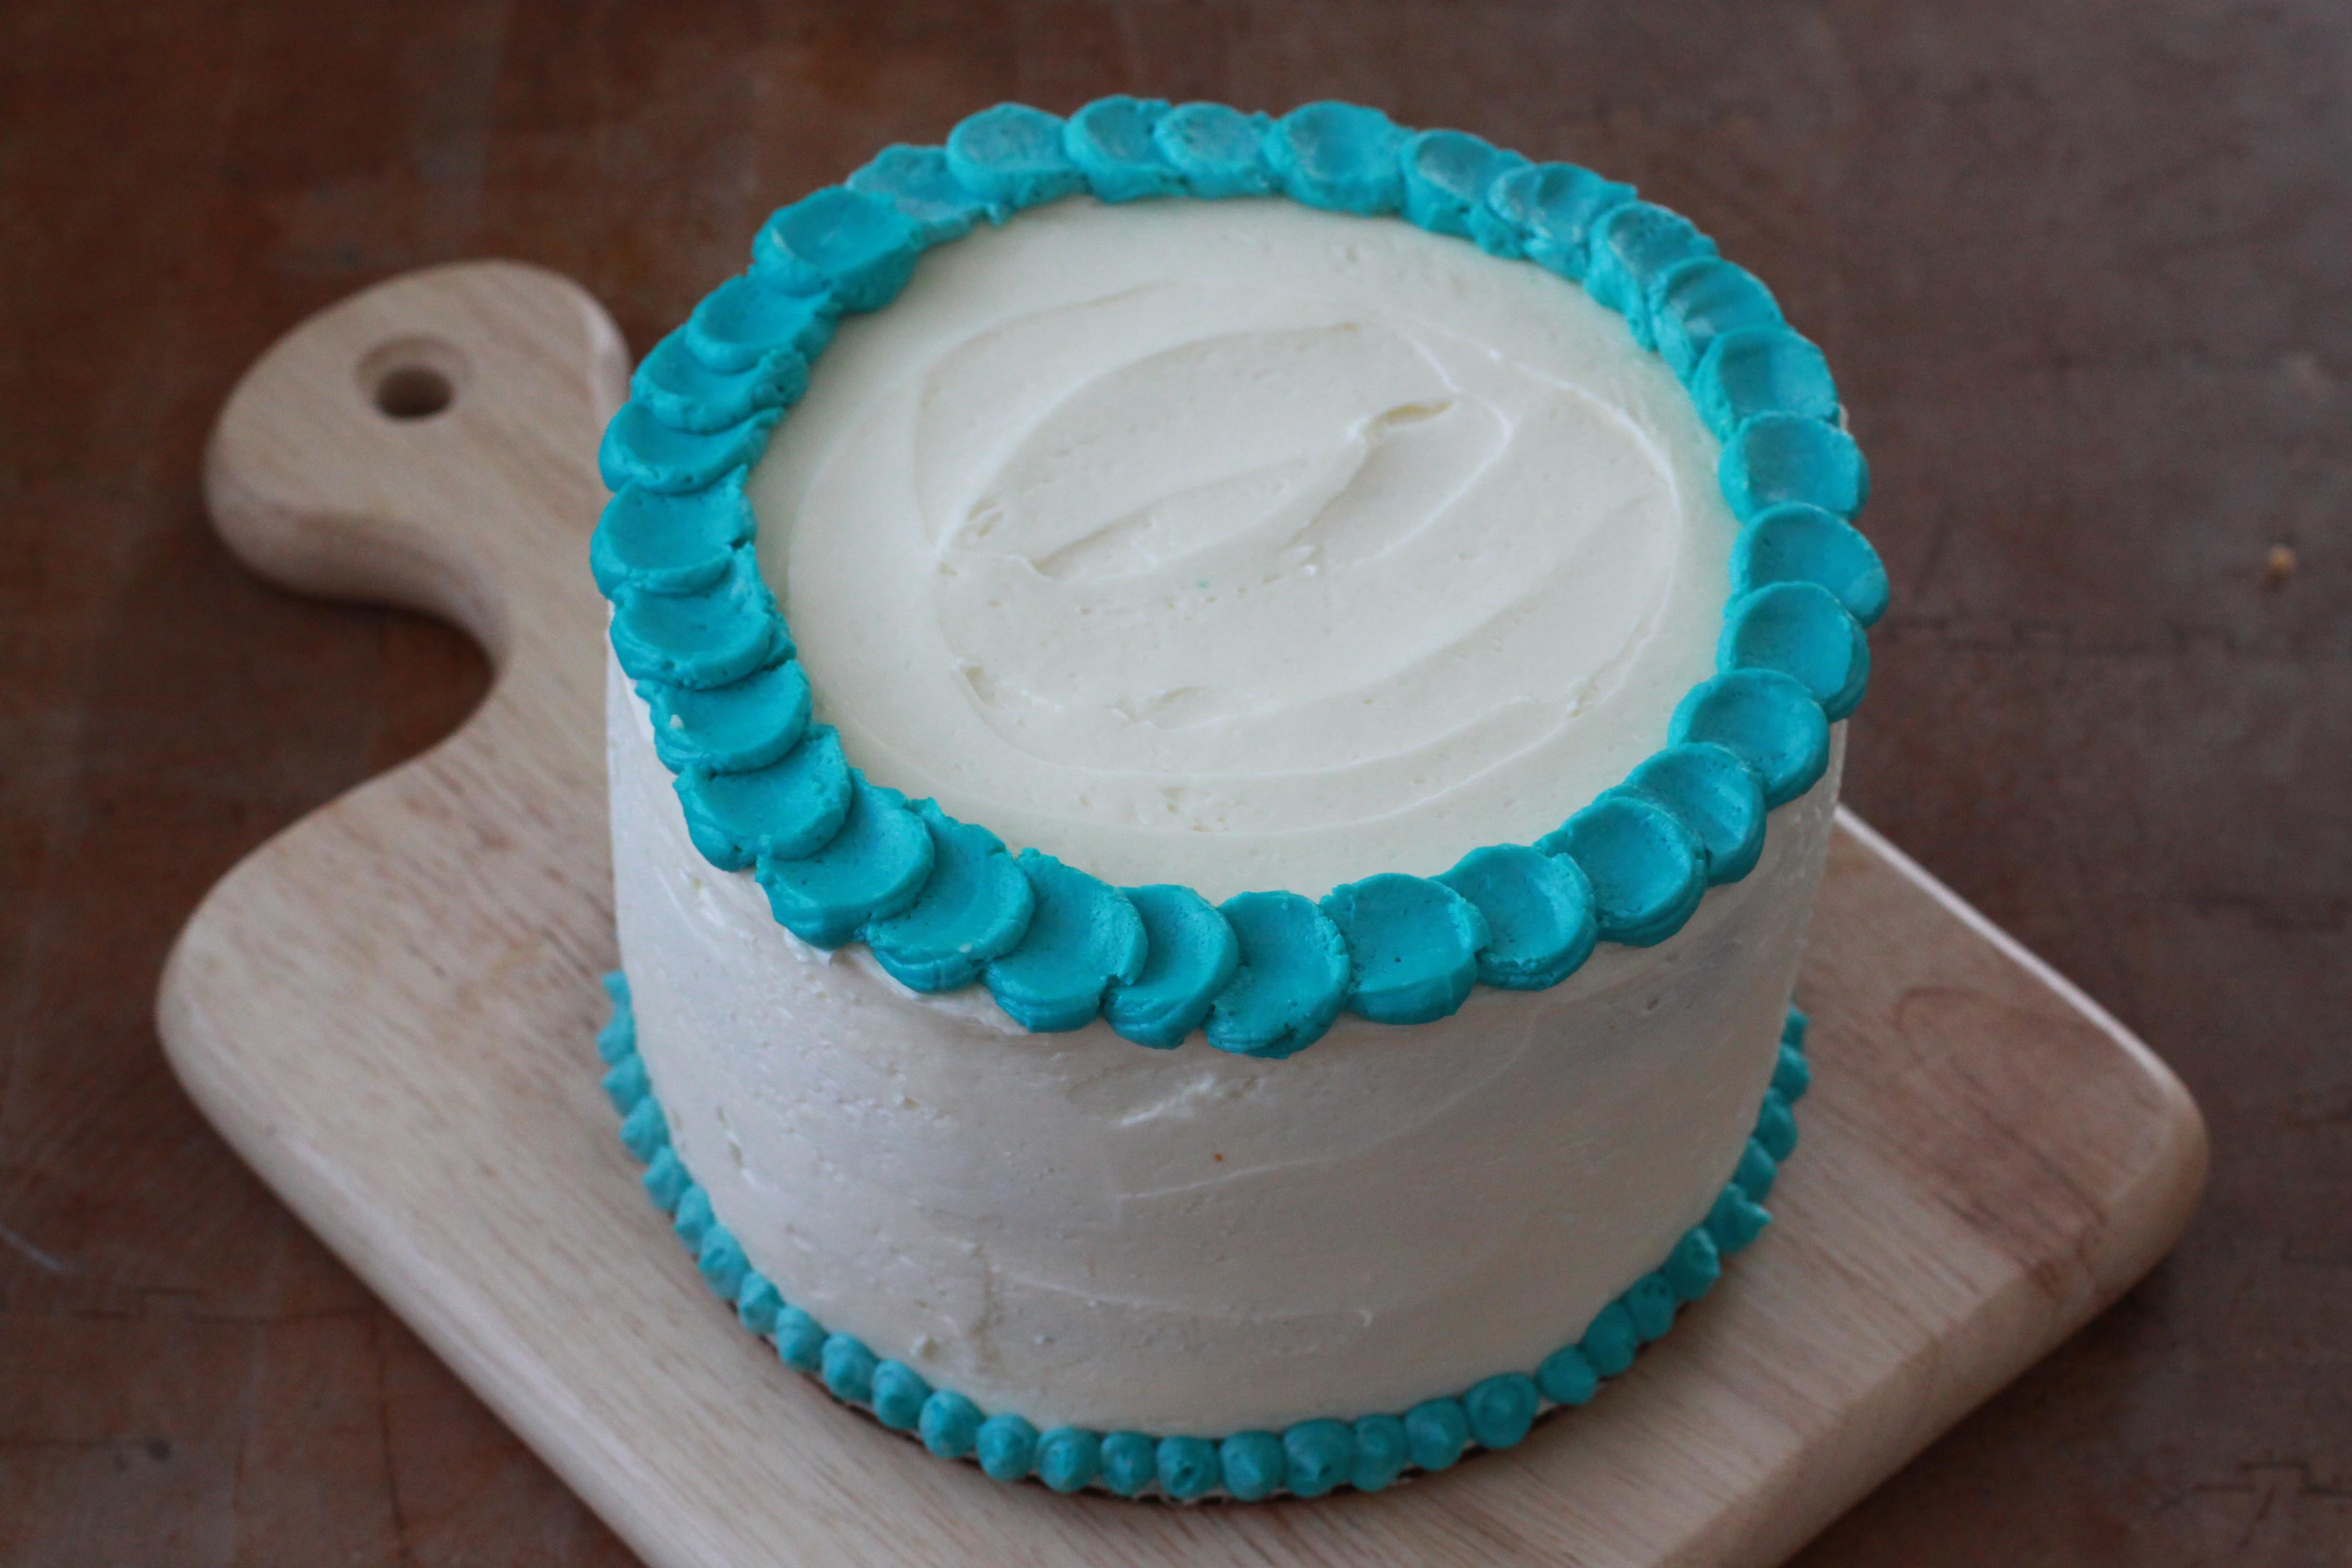
- Color reserved buttercream your desired shade of blue, pink or other color. Place in a pastry bag fitted with a ½-inch tube tip. Pipe a dollop of frosting on the top edge of cake. Use the back of a teaspoon to pull the frosting into a petal shape. Repeat with dollops and pulls around the entire top edge of cake.
- Use a small round pastry tip to make small dots around the bottom of the cake where the cake meets the cardboard cake round.
- Make Ahead Tip: This cake can be made ahead and frosted up to 3 days in advance. Simply make and frost as directed, then store in the freezer. I recommend freezing the cake uncovered for 3 hours first, then lightly covering with plastic wrap and storing in a plastic cake container/carrier in the freezer until ready to serve. To de-thaw, remove from freezer 12 hours in advance and allow cake and buttercream to come to room temperature.