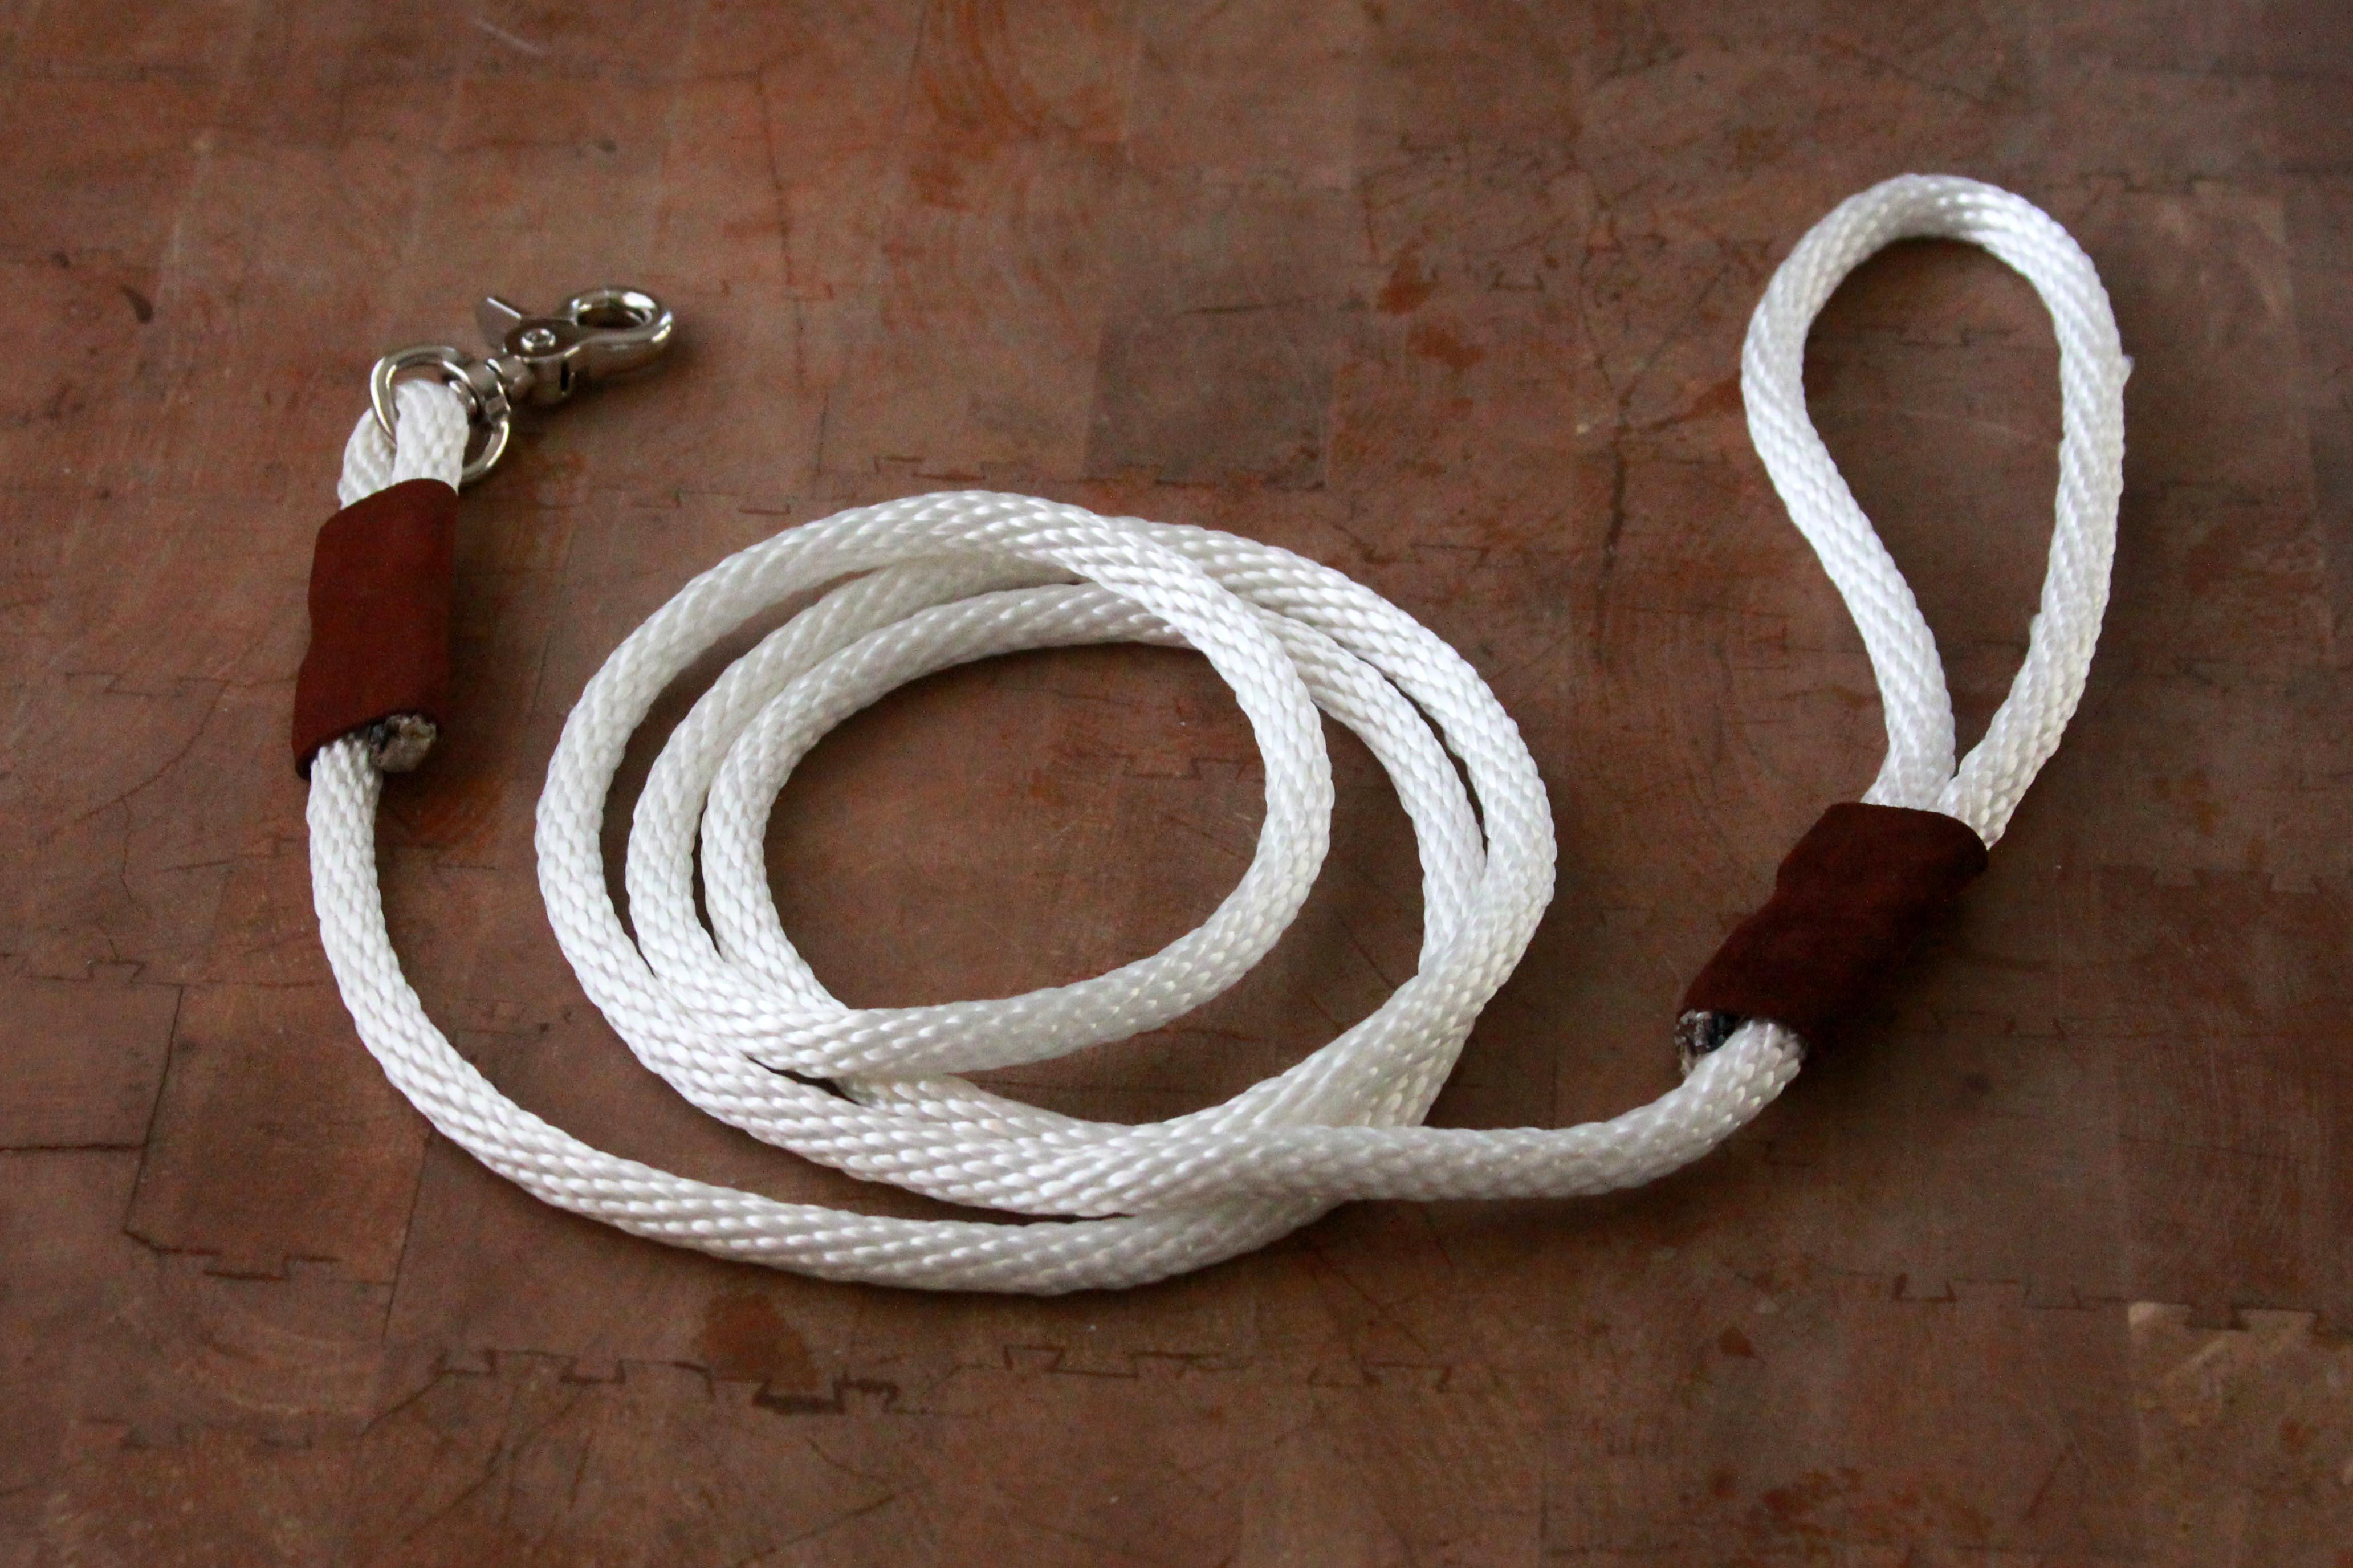

When Joe and I were in Austin a few weeks back, I saw a bunch of really cool rope leashes for dogs. Our hotel was even selling them, and I loved the casual, rustic, cool look the leashes had – much cooler than the leashes we currently used for our pups. But when I saw that each leash was upwards of $60 I couldn’t justify buying two for our dogs.
Thankfully, it’s incredibly easy to make a rope leash at home with a few items from the local hardware store and craft store. If you’re interested in making your own rope leash, I’ve put together a little guide.
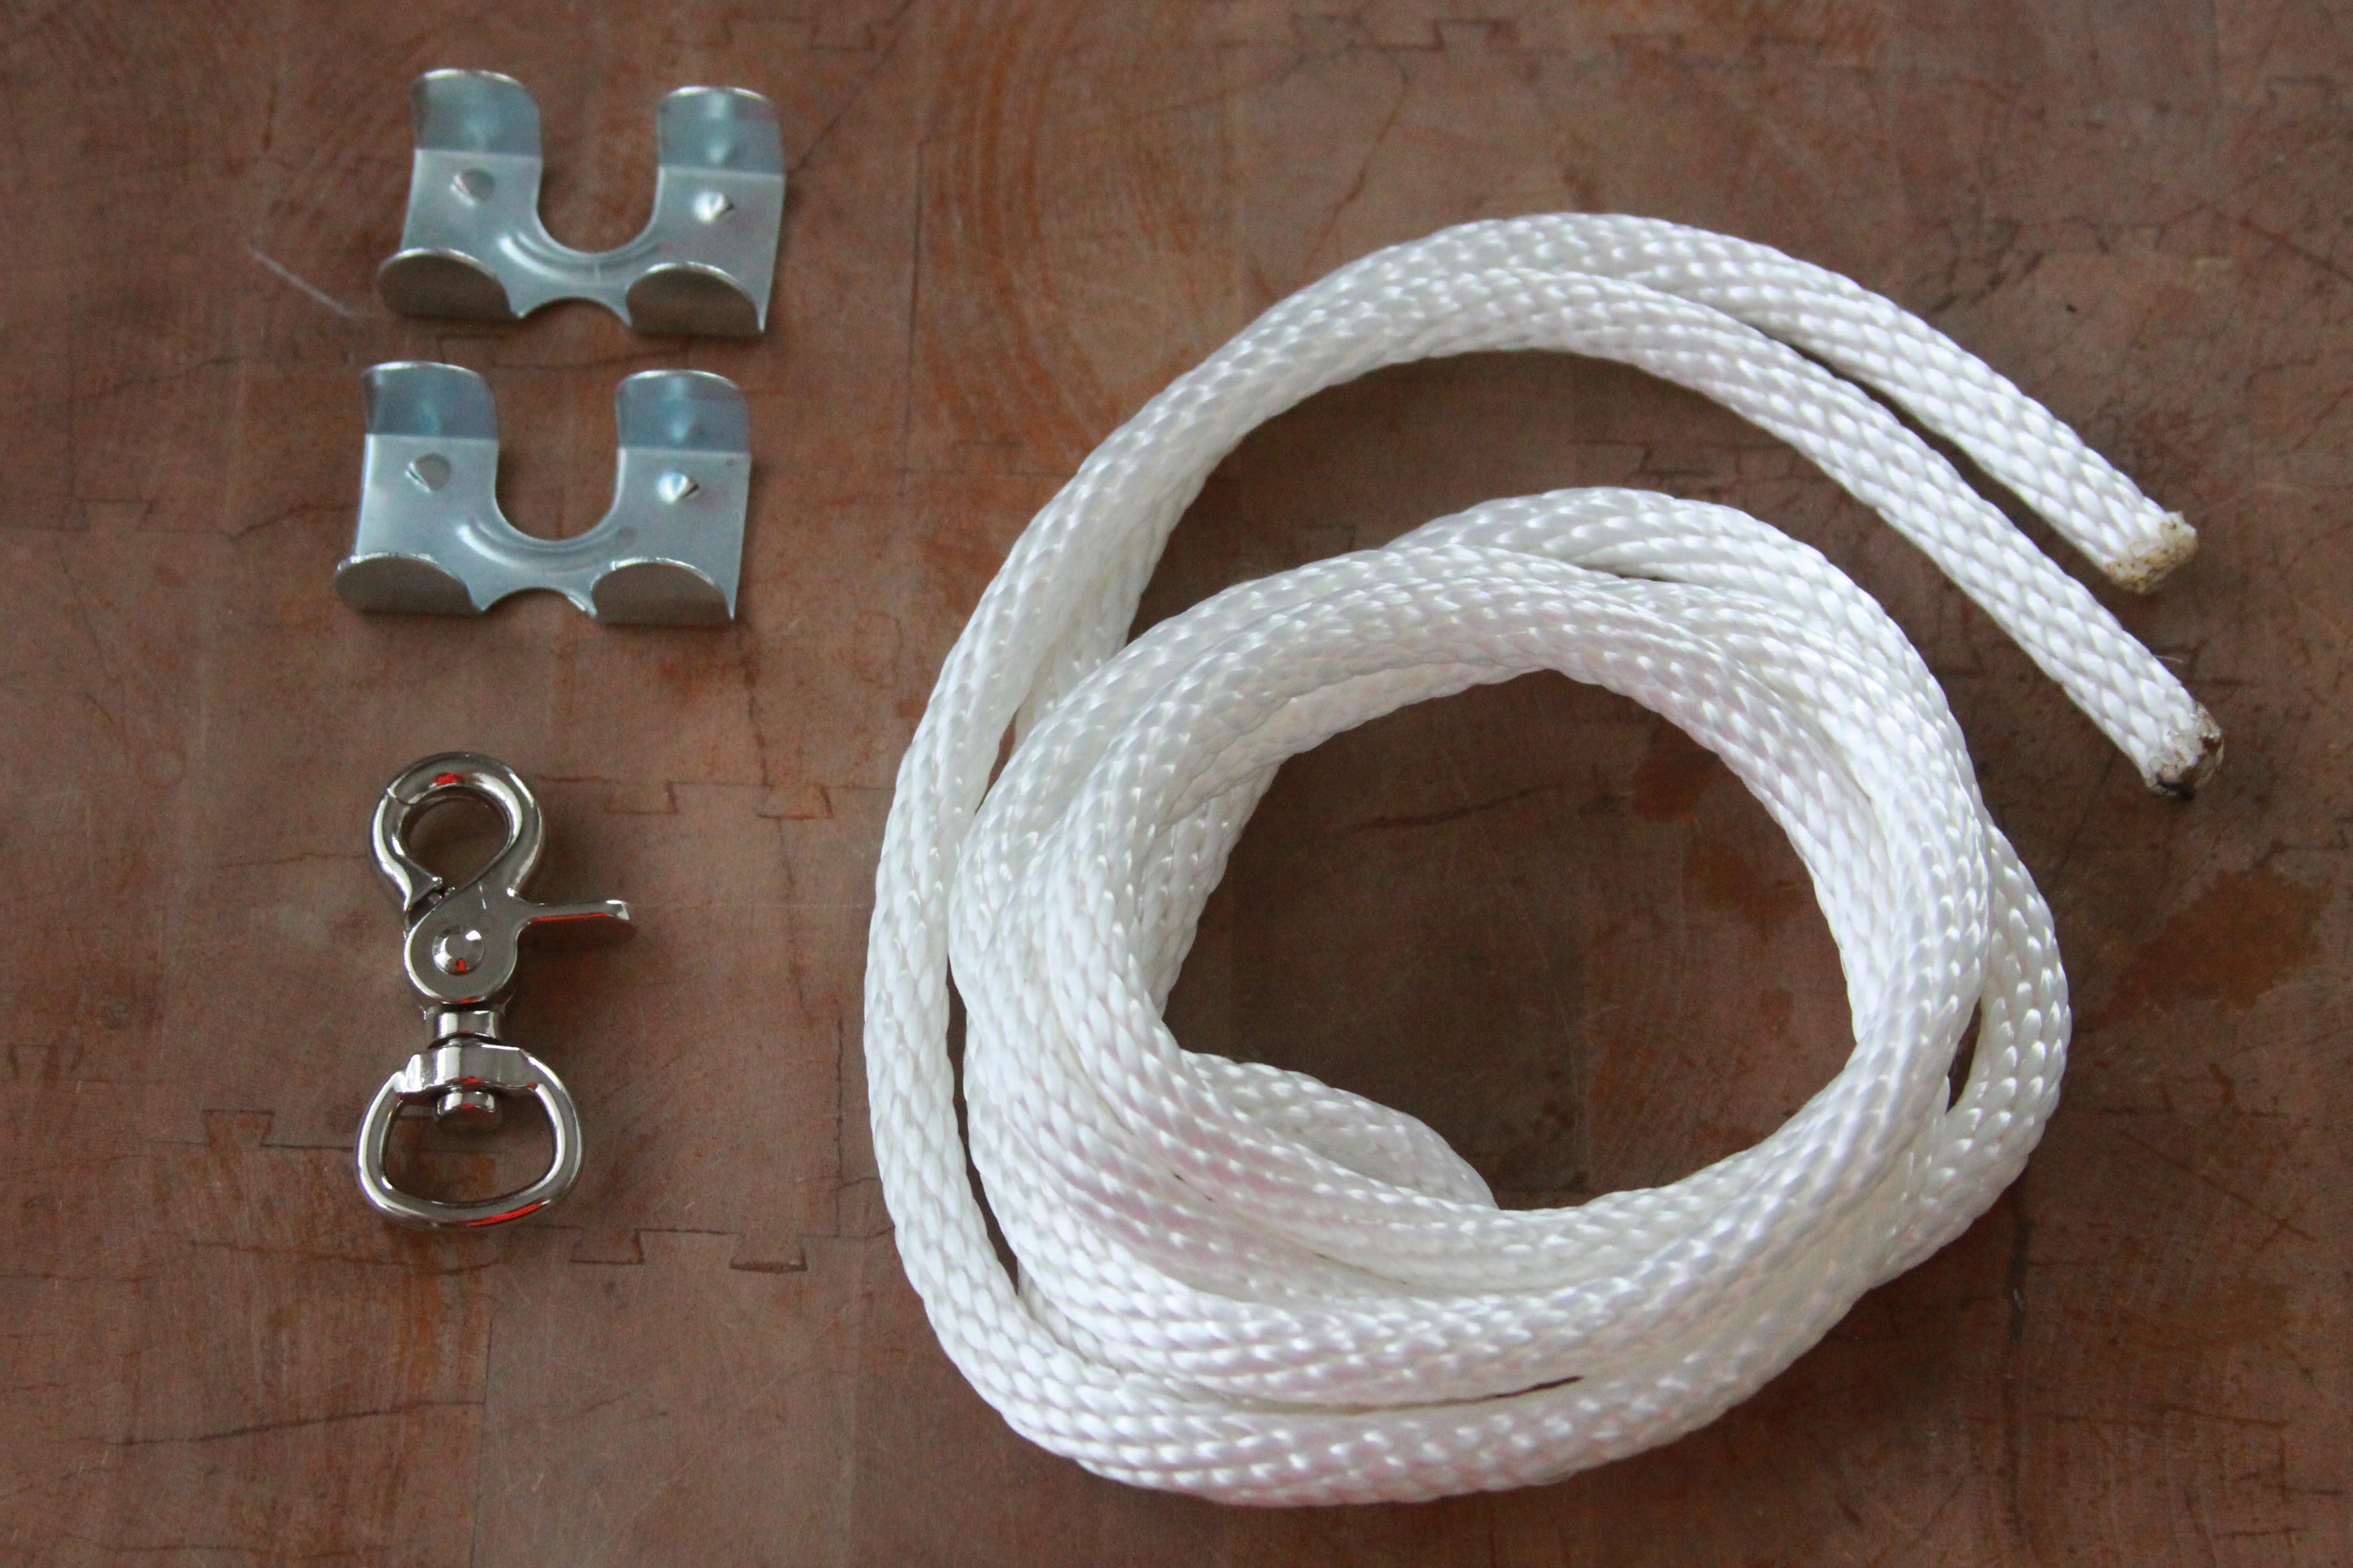
Here’s What You Need:
*1 package (2 clamps in a package) of metal clamps (the 3/8″ to 1/2″ size)
*1 metal snap hook
*1 piece of nylon or cotton rope (most leashes are anywhere from 4 to 6 feet in length)
*Hammer or rubber mallet
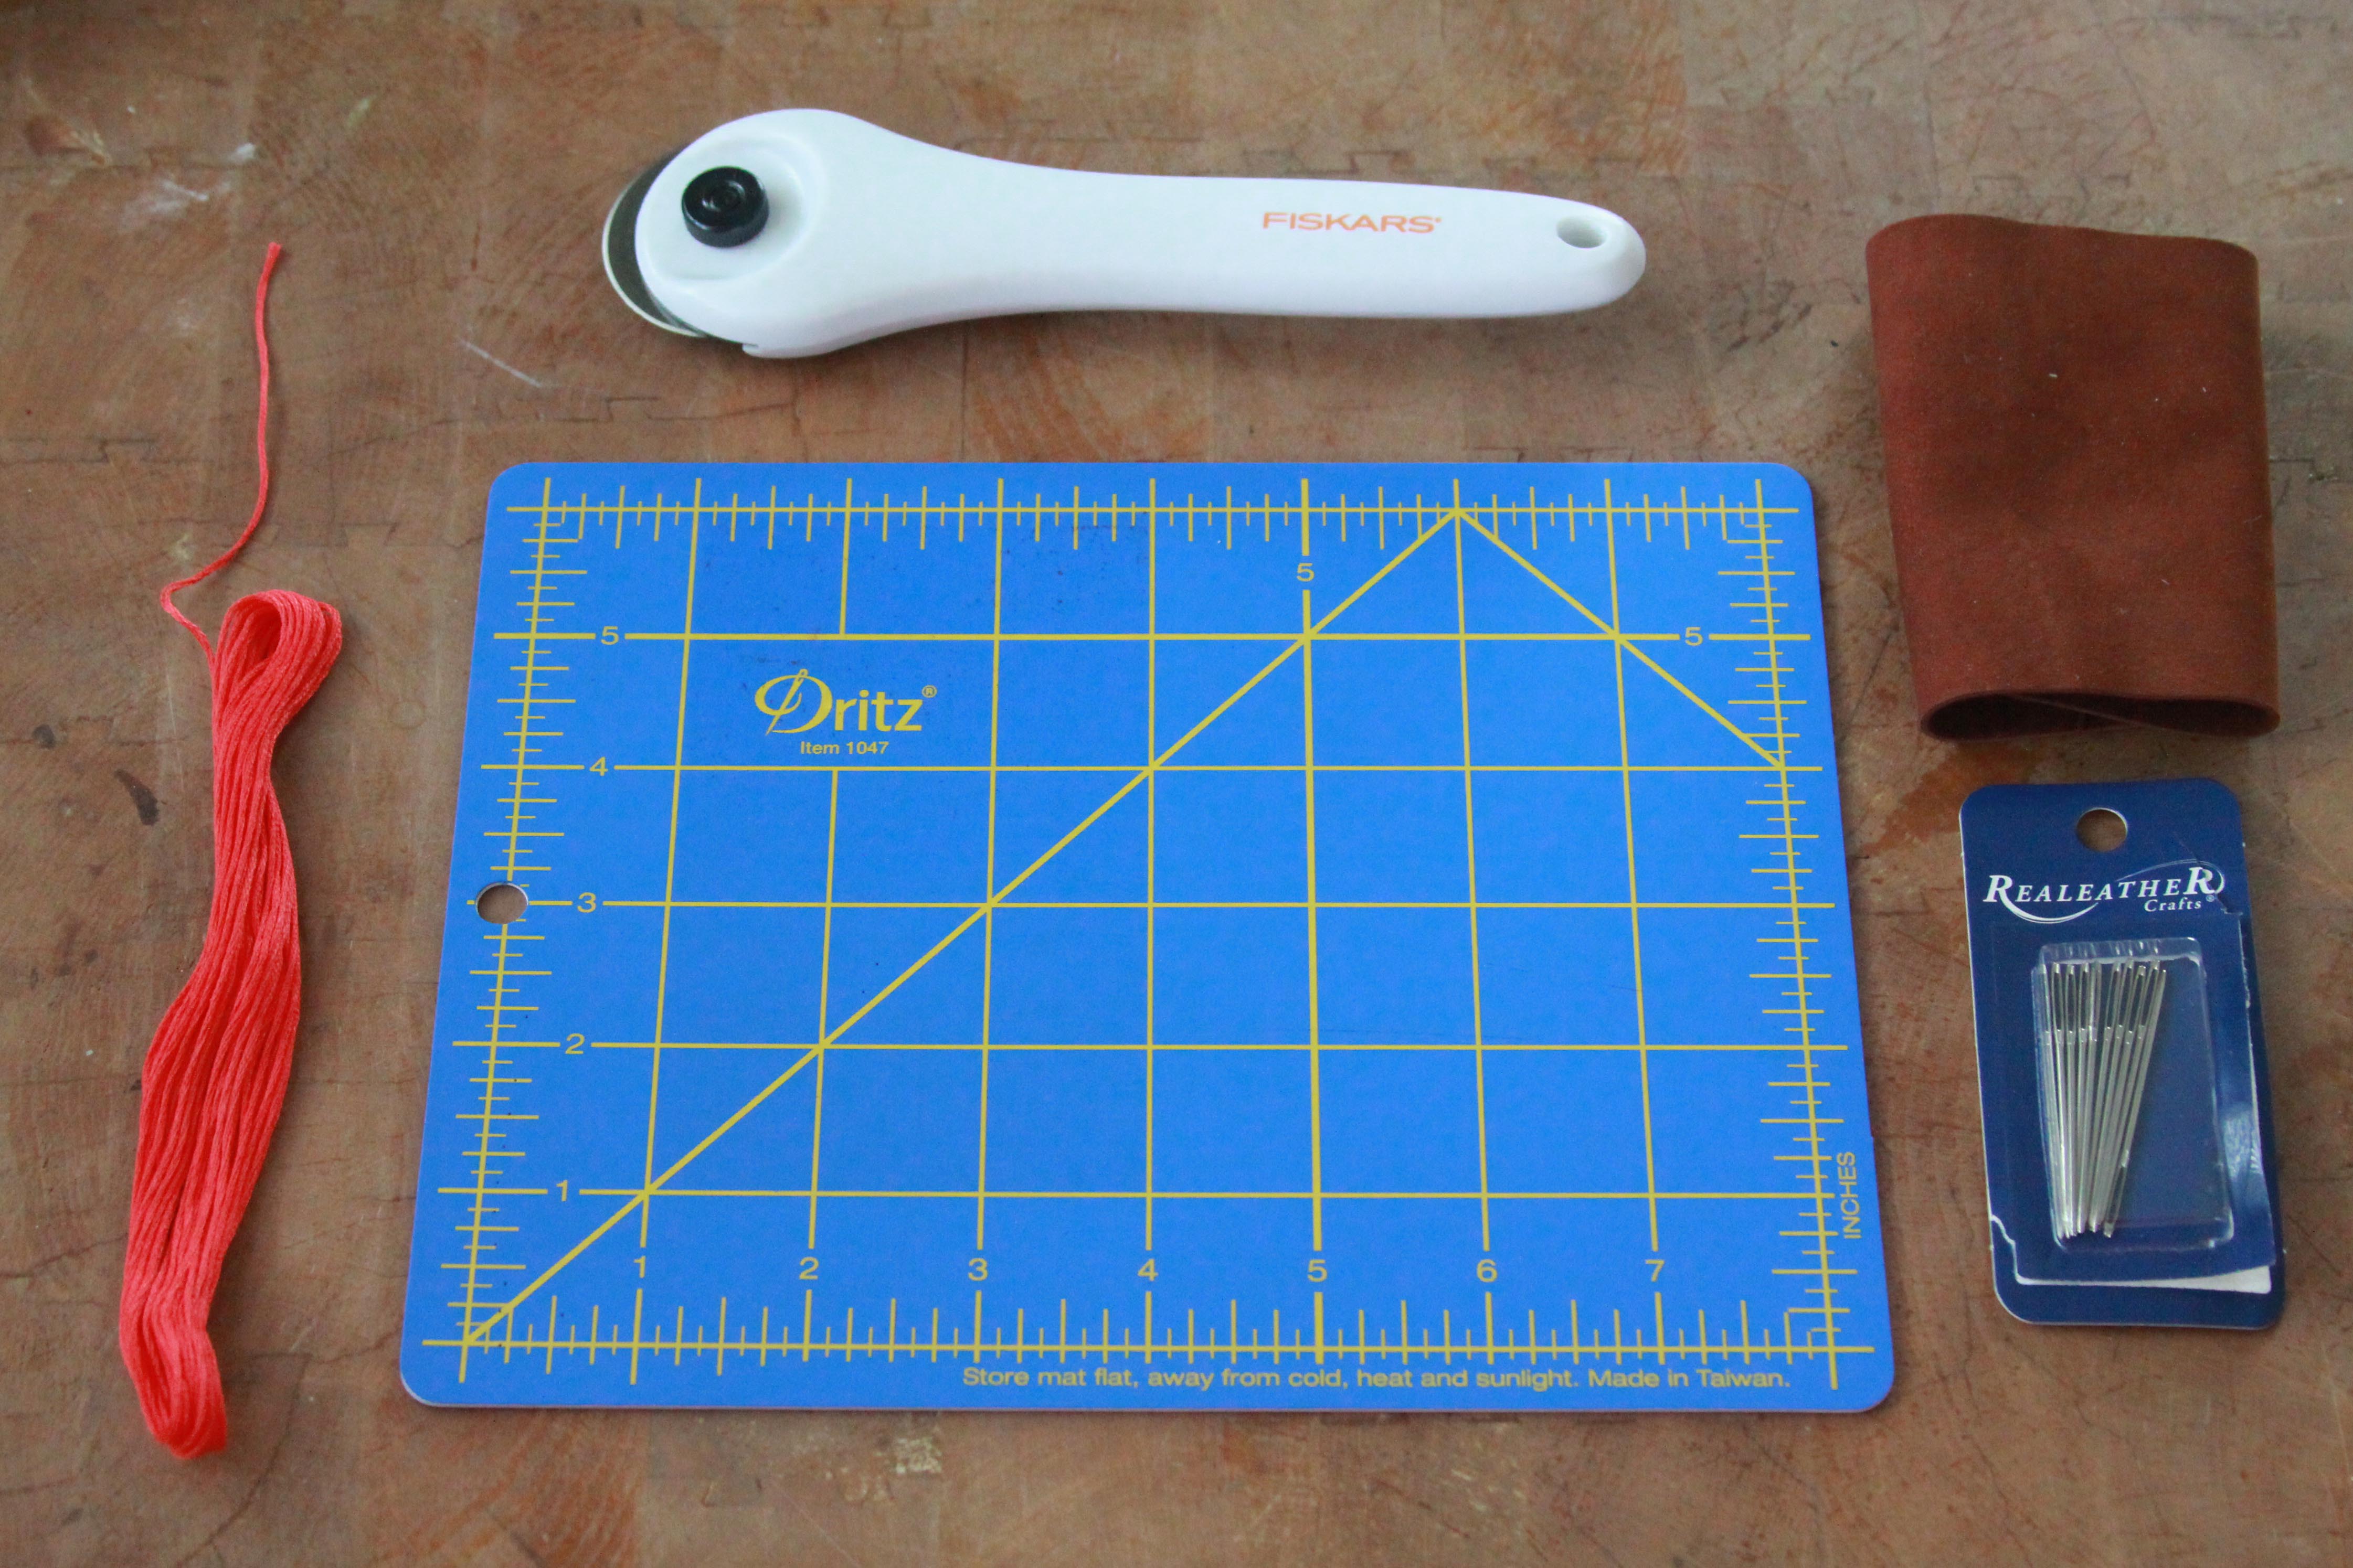
Optional Items:
*1 small piece of leather
*Darning needle (made for leather)
*Craft knife
*Embroidery Floss in a bright color
*Self healing cutting mat
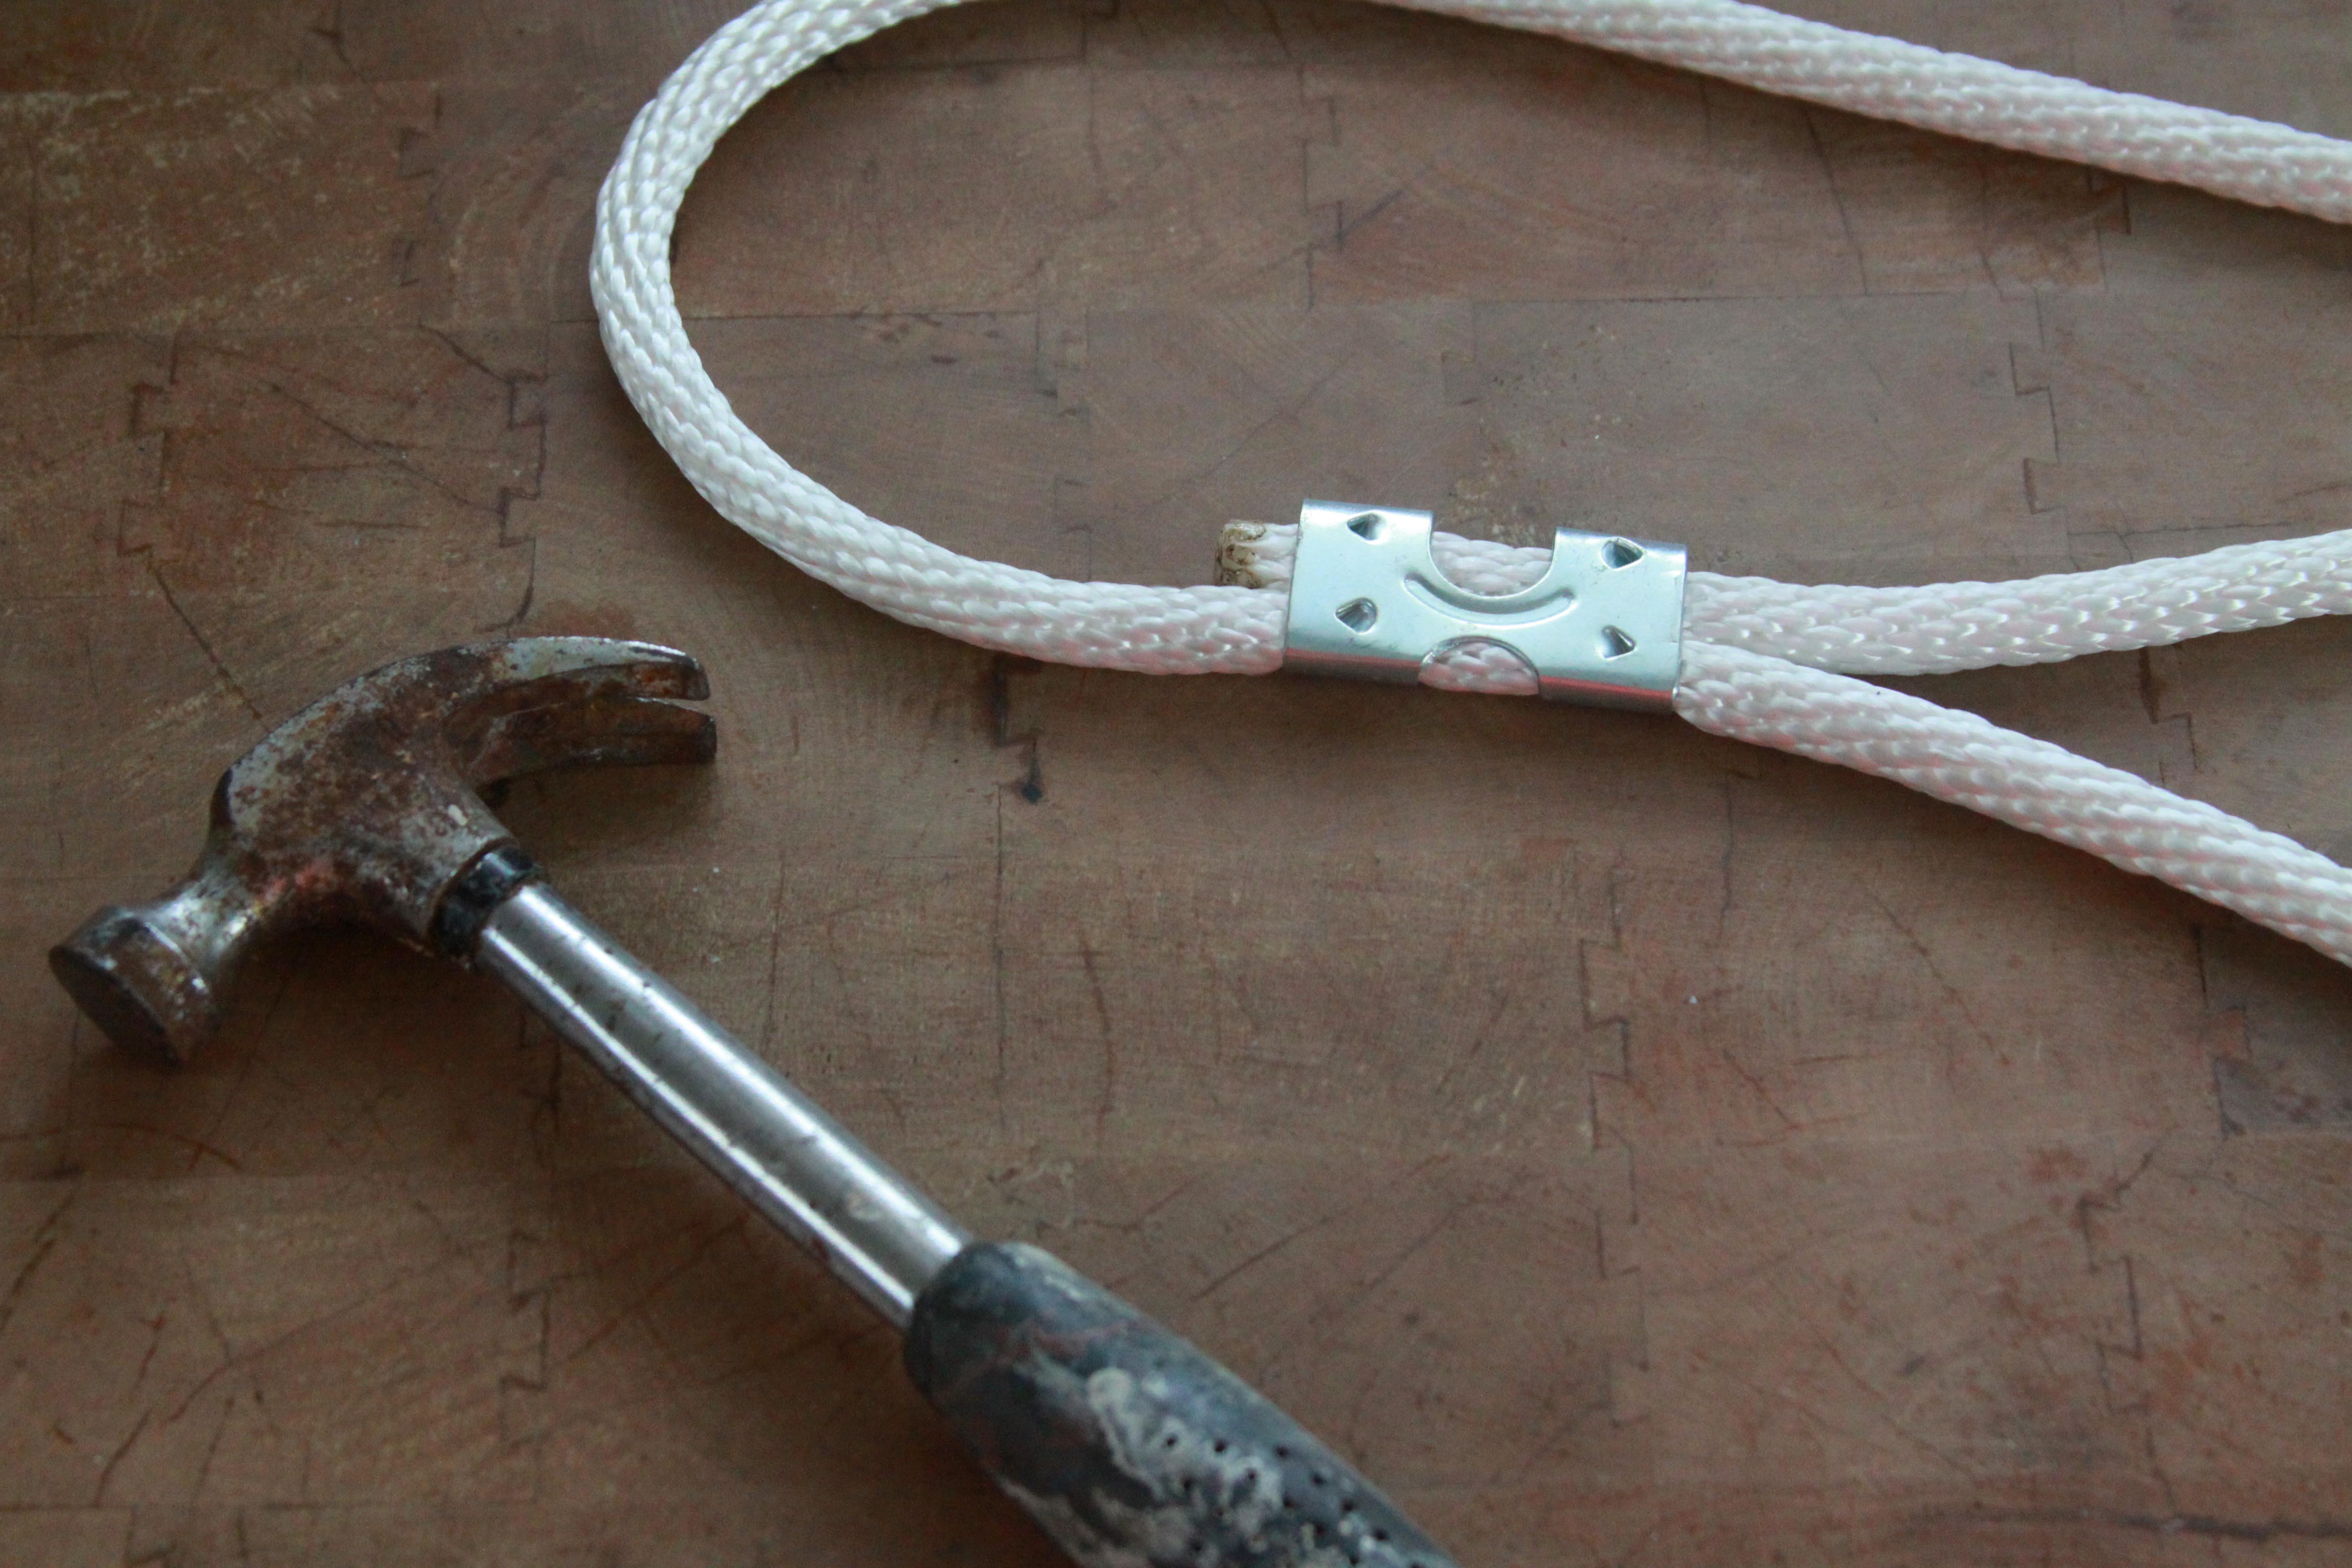
STEP 1
Make a handle-sized loop (based on preference) with one end of the rope. Place one of the clamps on the end of the handle as shown below. Use your hammer or rubber mallet to tightly secure the ends of the clamp around the rope.
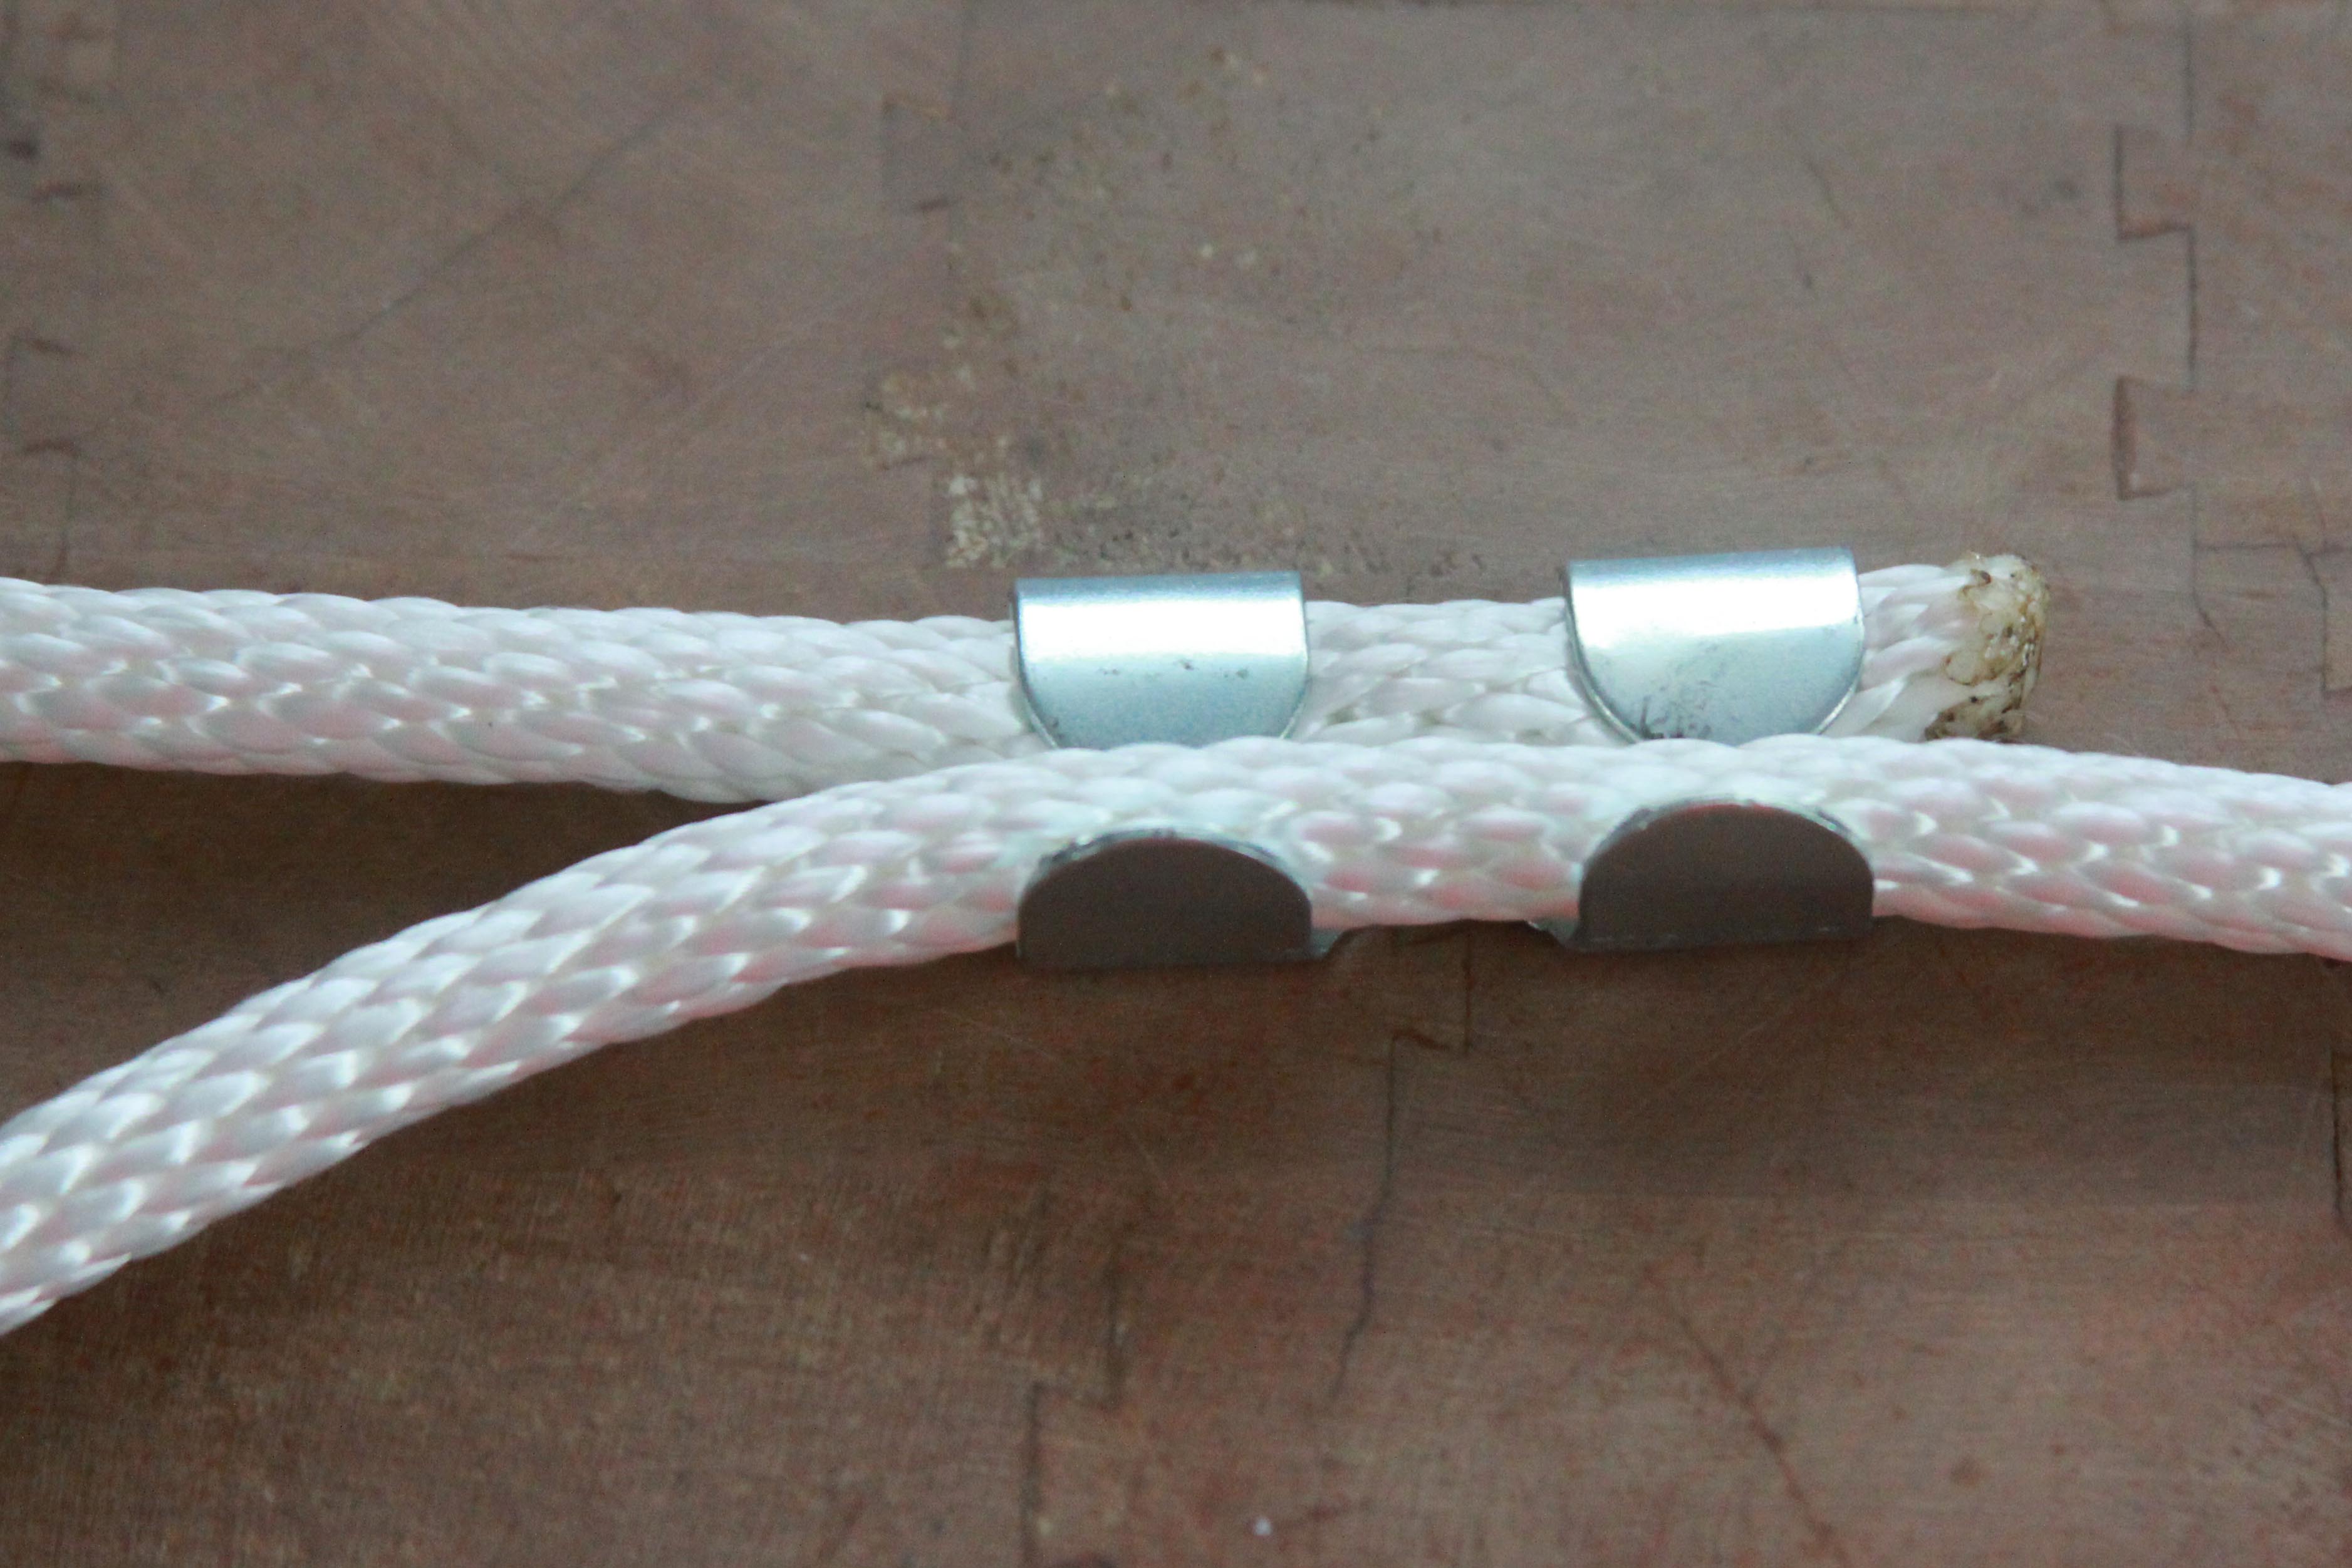
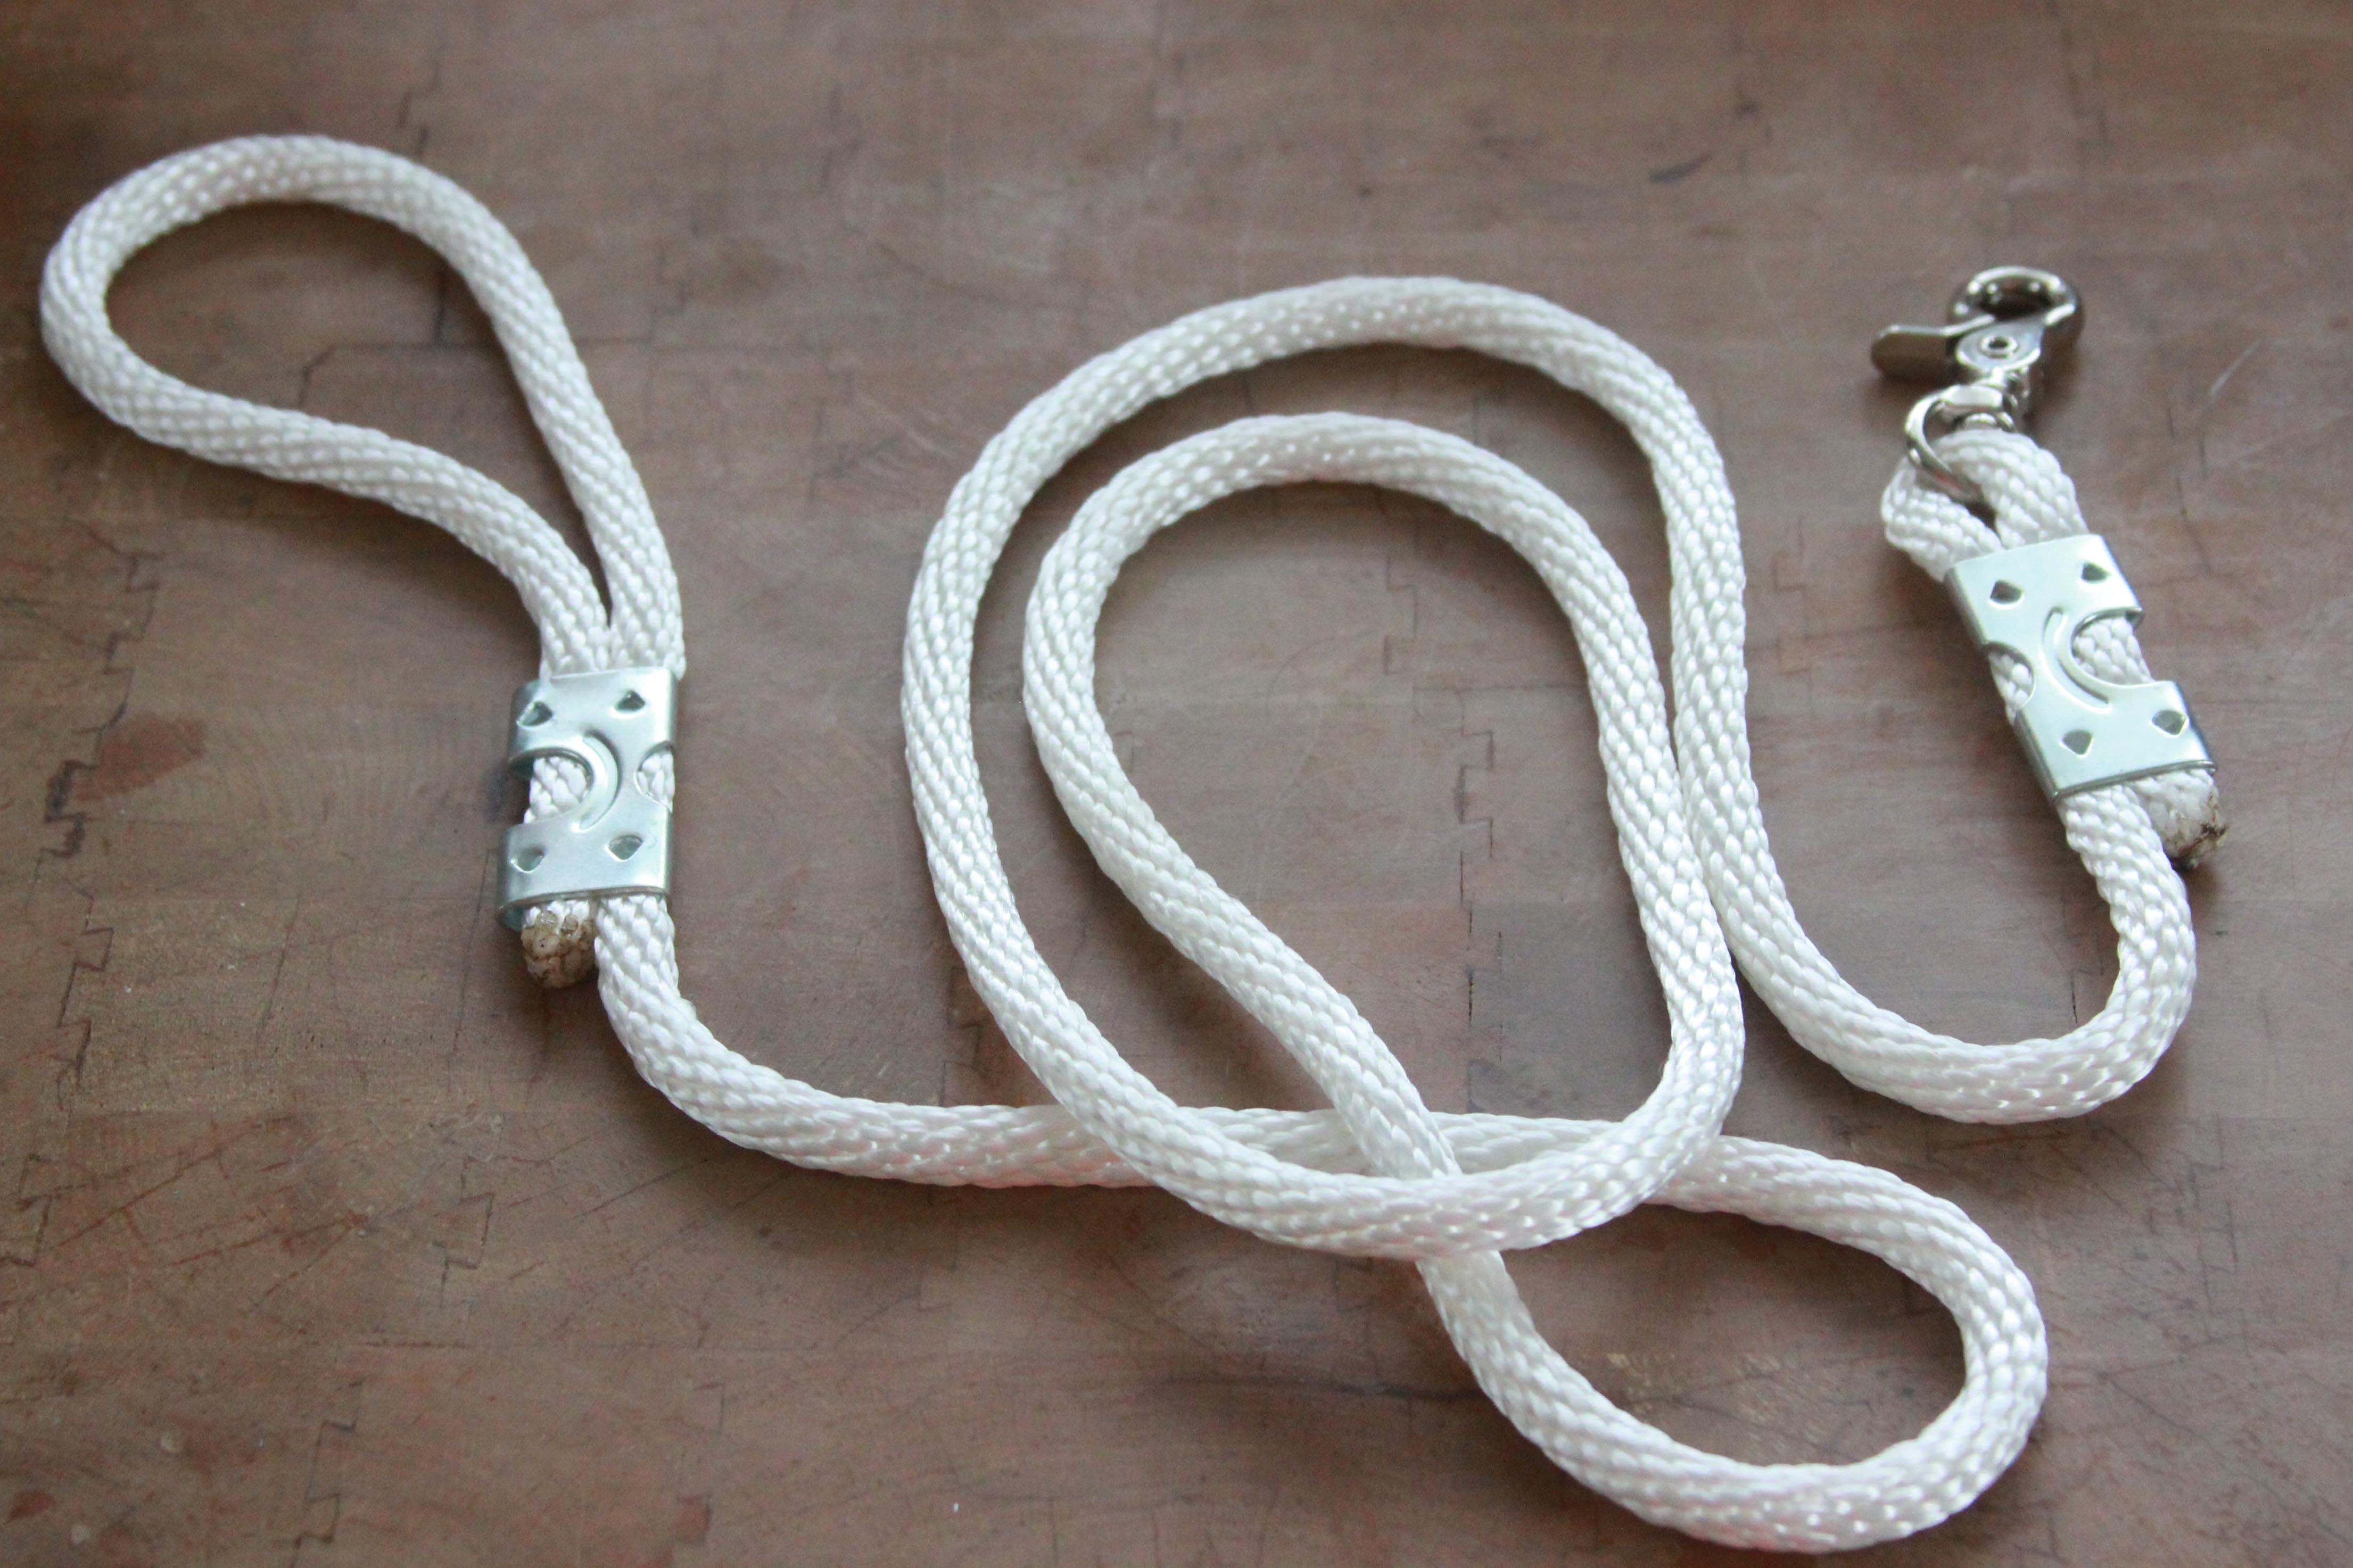
STEP 2
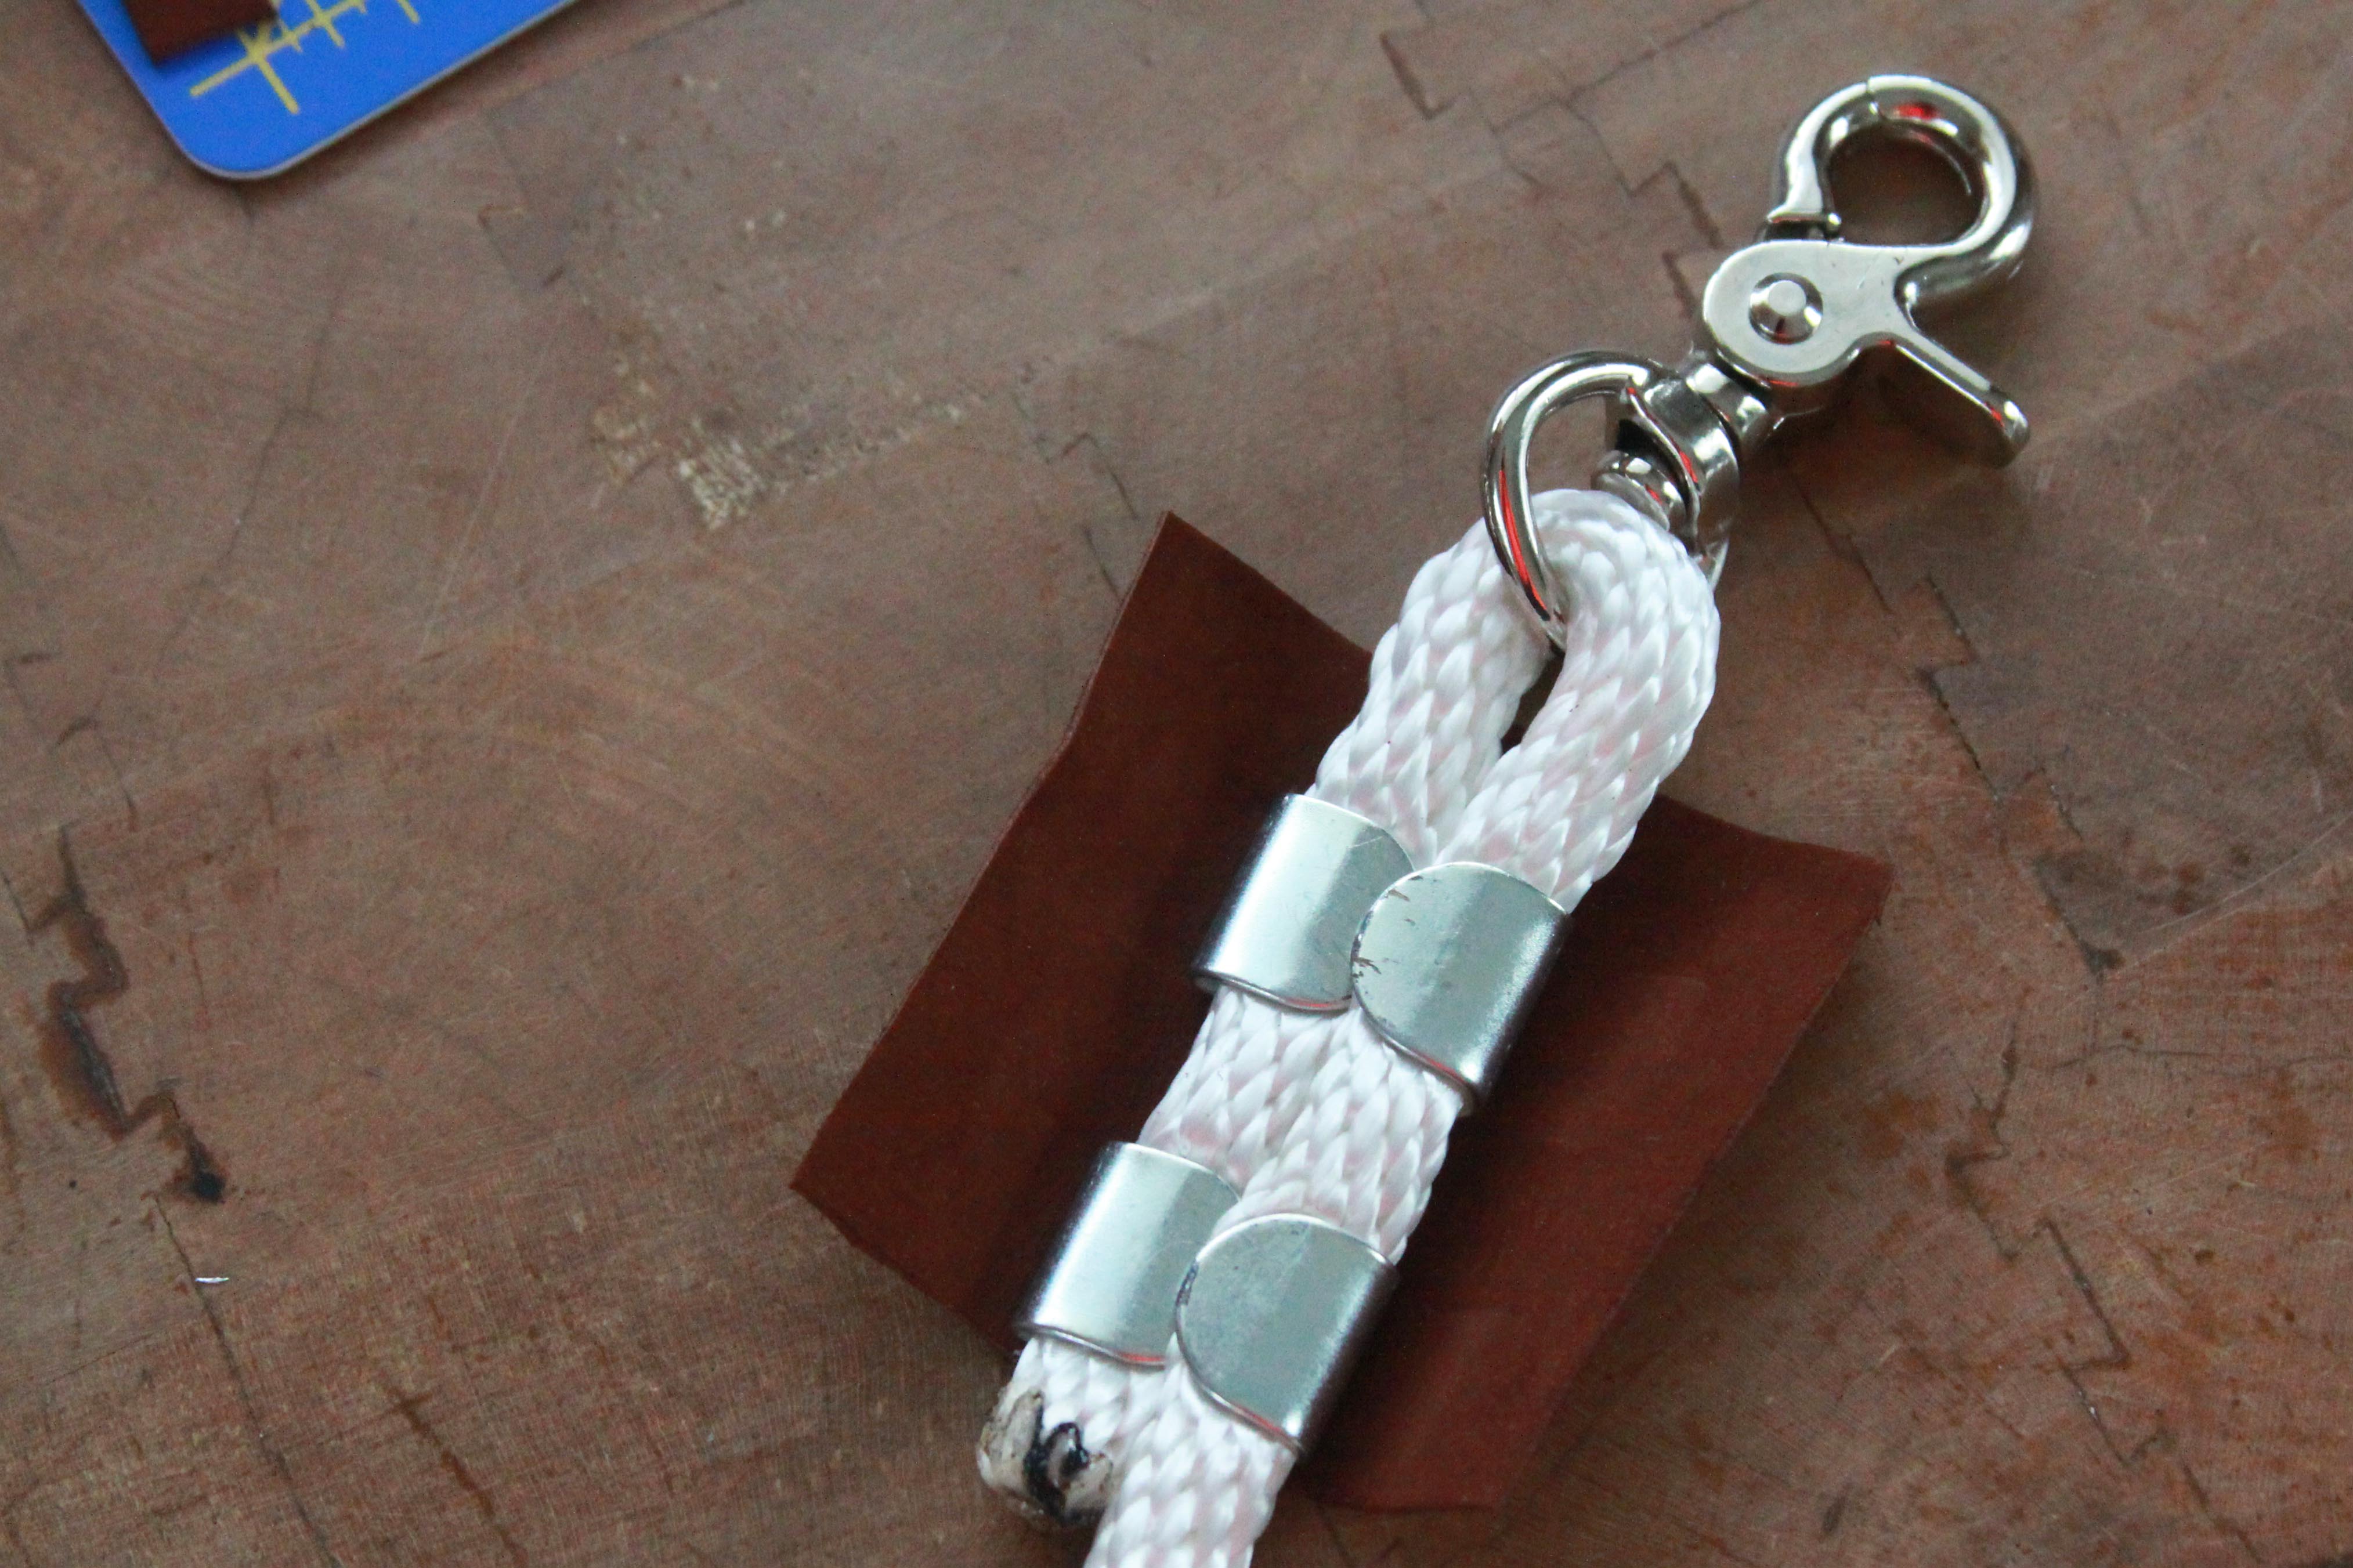
Repeat this same method with the snap hook and a second clamp on the remaining end of the rope.

At this point, you could easily stop and this would be a perfectly functional rope leash! Seriously this takes about 5 minutes once you have the right hardware. However, I liked a bit more of a finished look that I saw on a bunch of blogs, so I decided to keep going and add some leather detailing. This is, of course, optional but highly recommended!
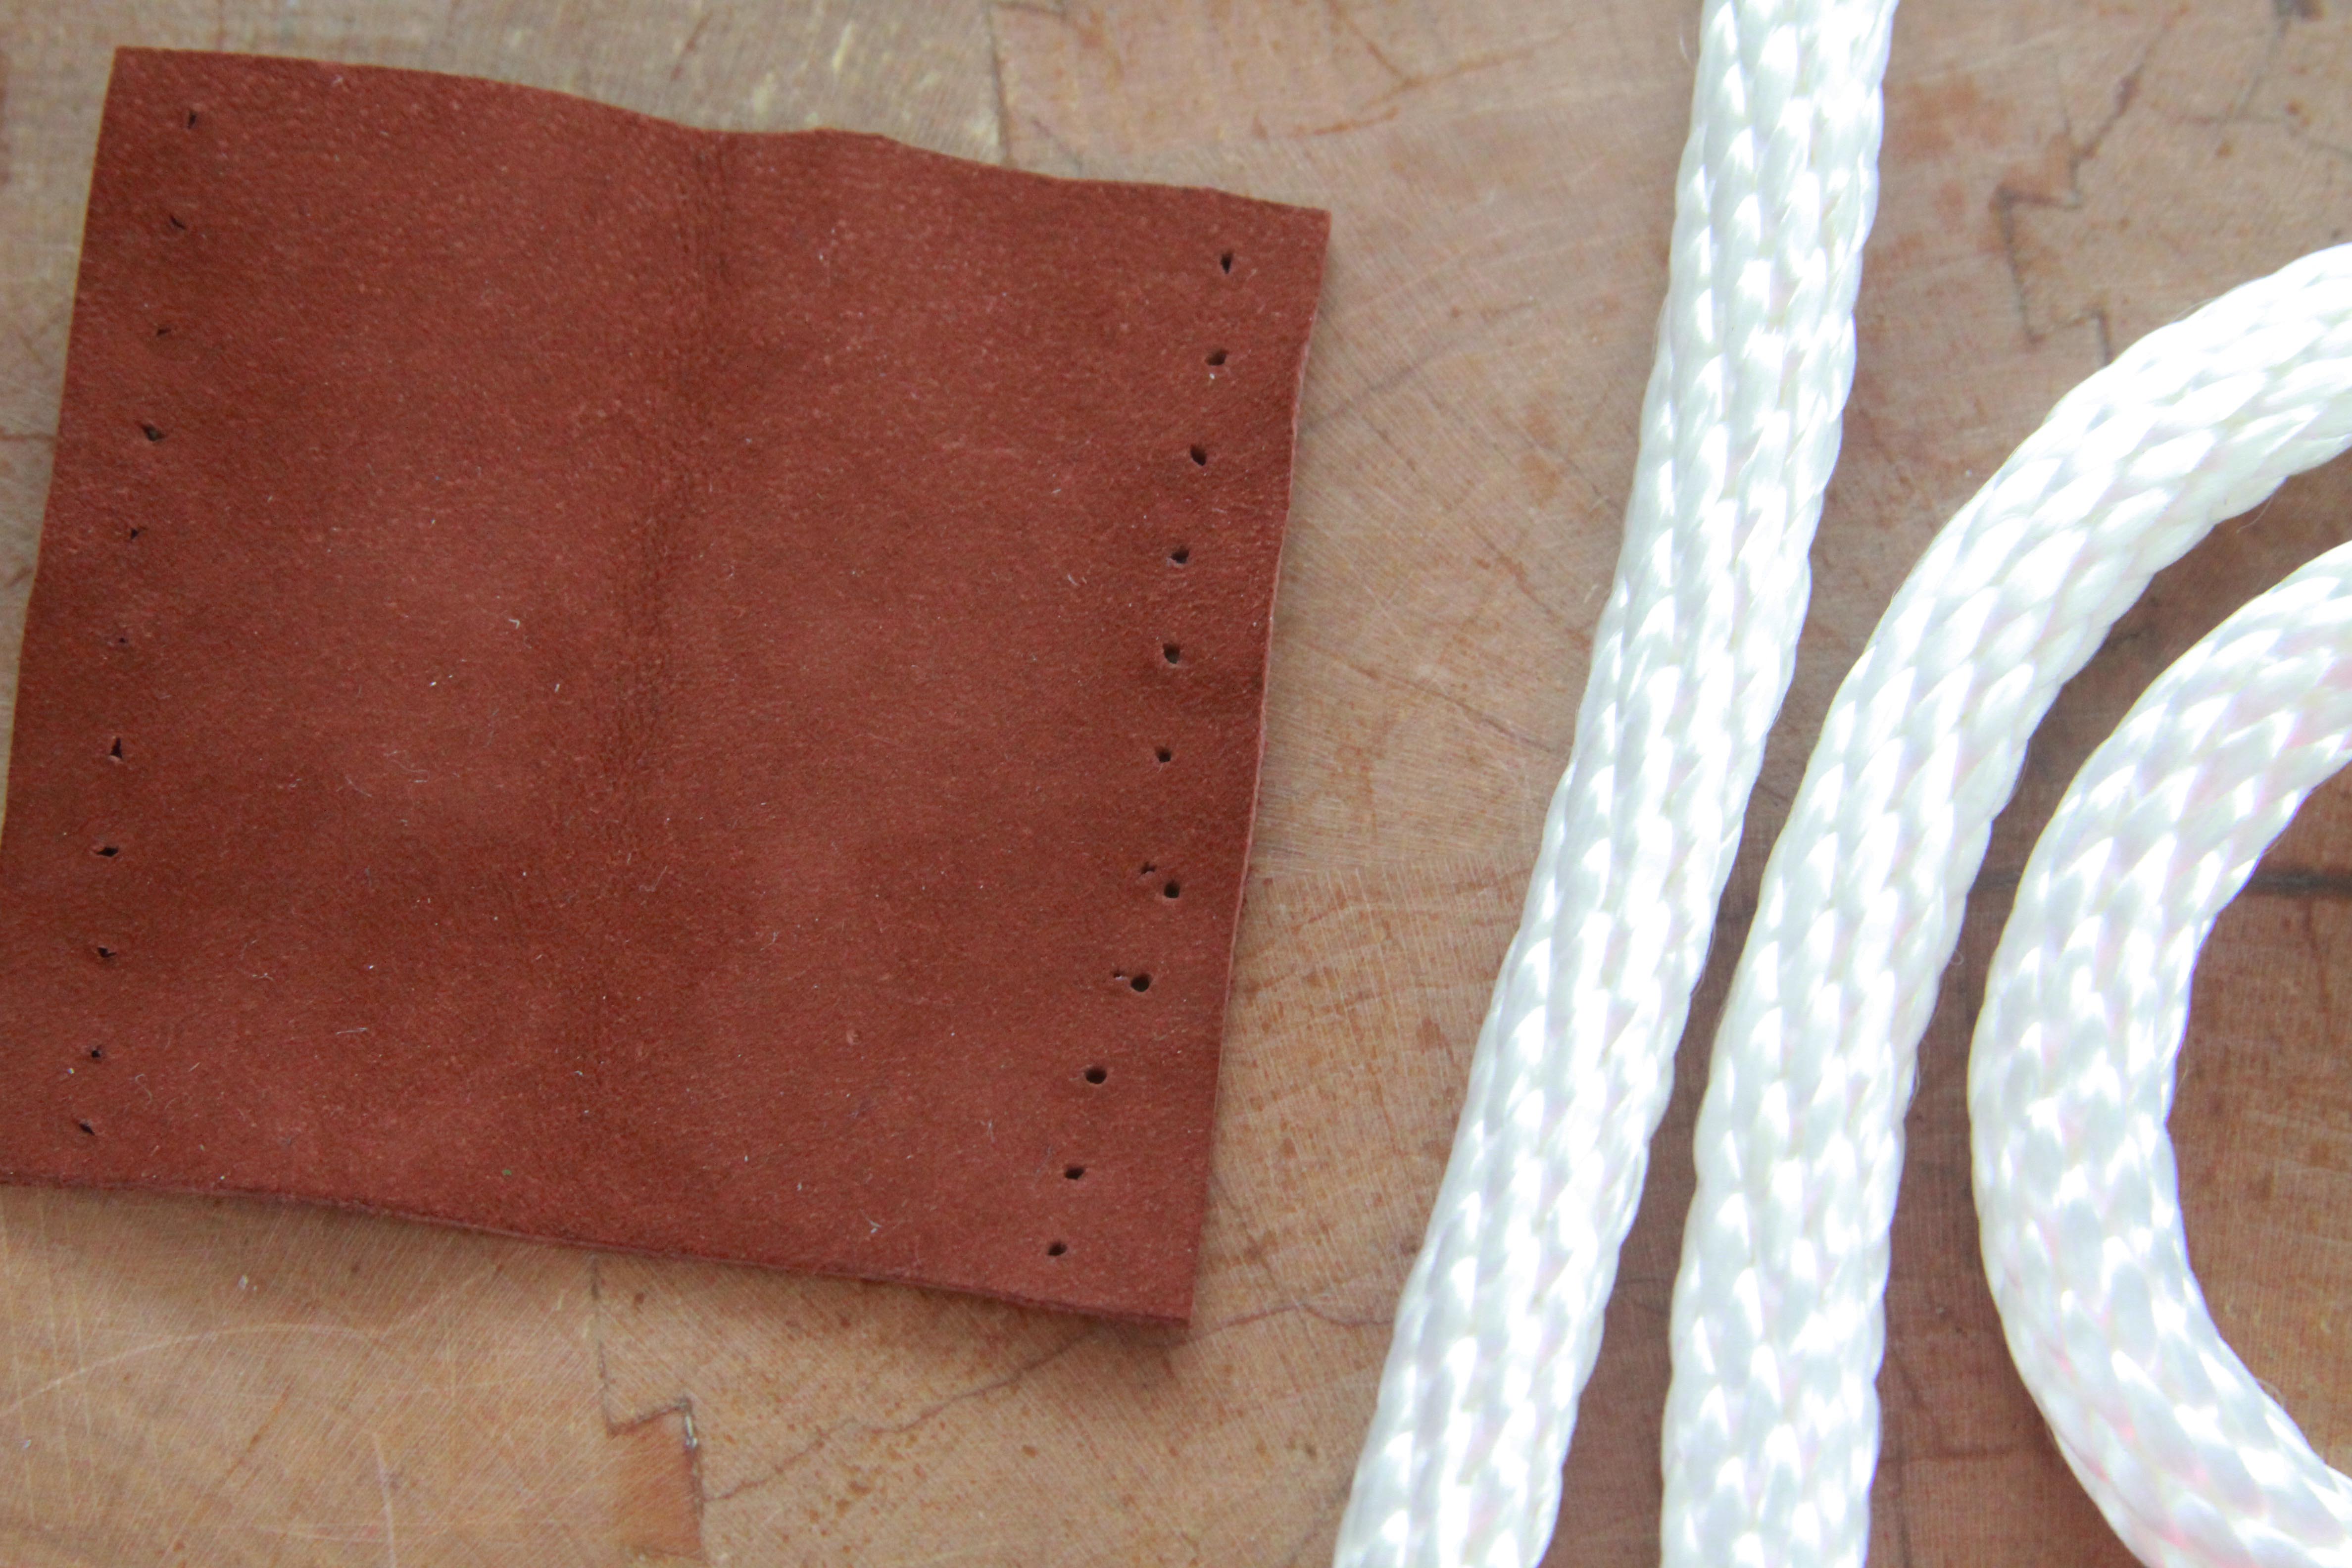
STEP 5
Get a small piece of leather from the craft store. I purchased mine in the craft section of Joanna’s Fabric for about $10. It’s not the highest quality but it will certainly work for this type of project. And that piece will make about 4 rope leashes. Cut a square of leather, about 2 1/4 inches. It should be just long enough to wrap around the metal clamp. If you have too much leather it wont be snug around the leash.
STEP 6
Use a nail or your needle to hammer holes (spaced about 1/4 inch apart) in the leather to make stitching the leather around the clamps easier.
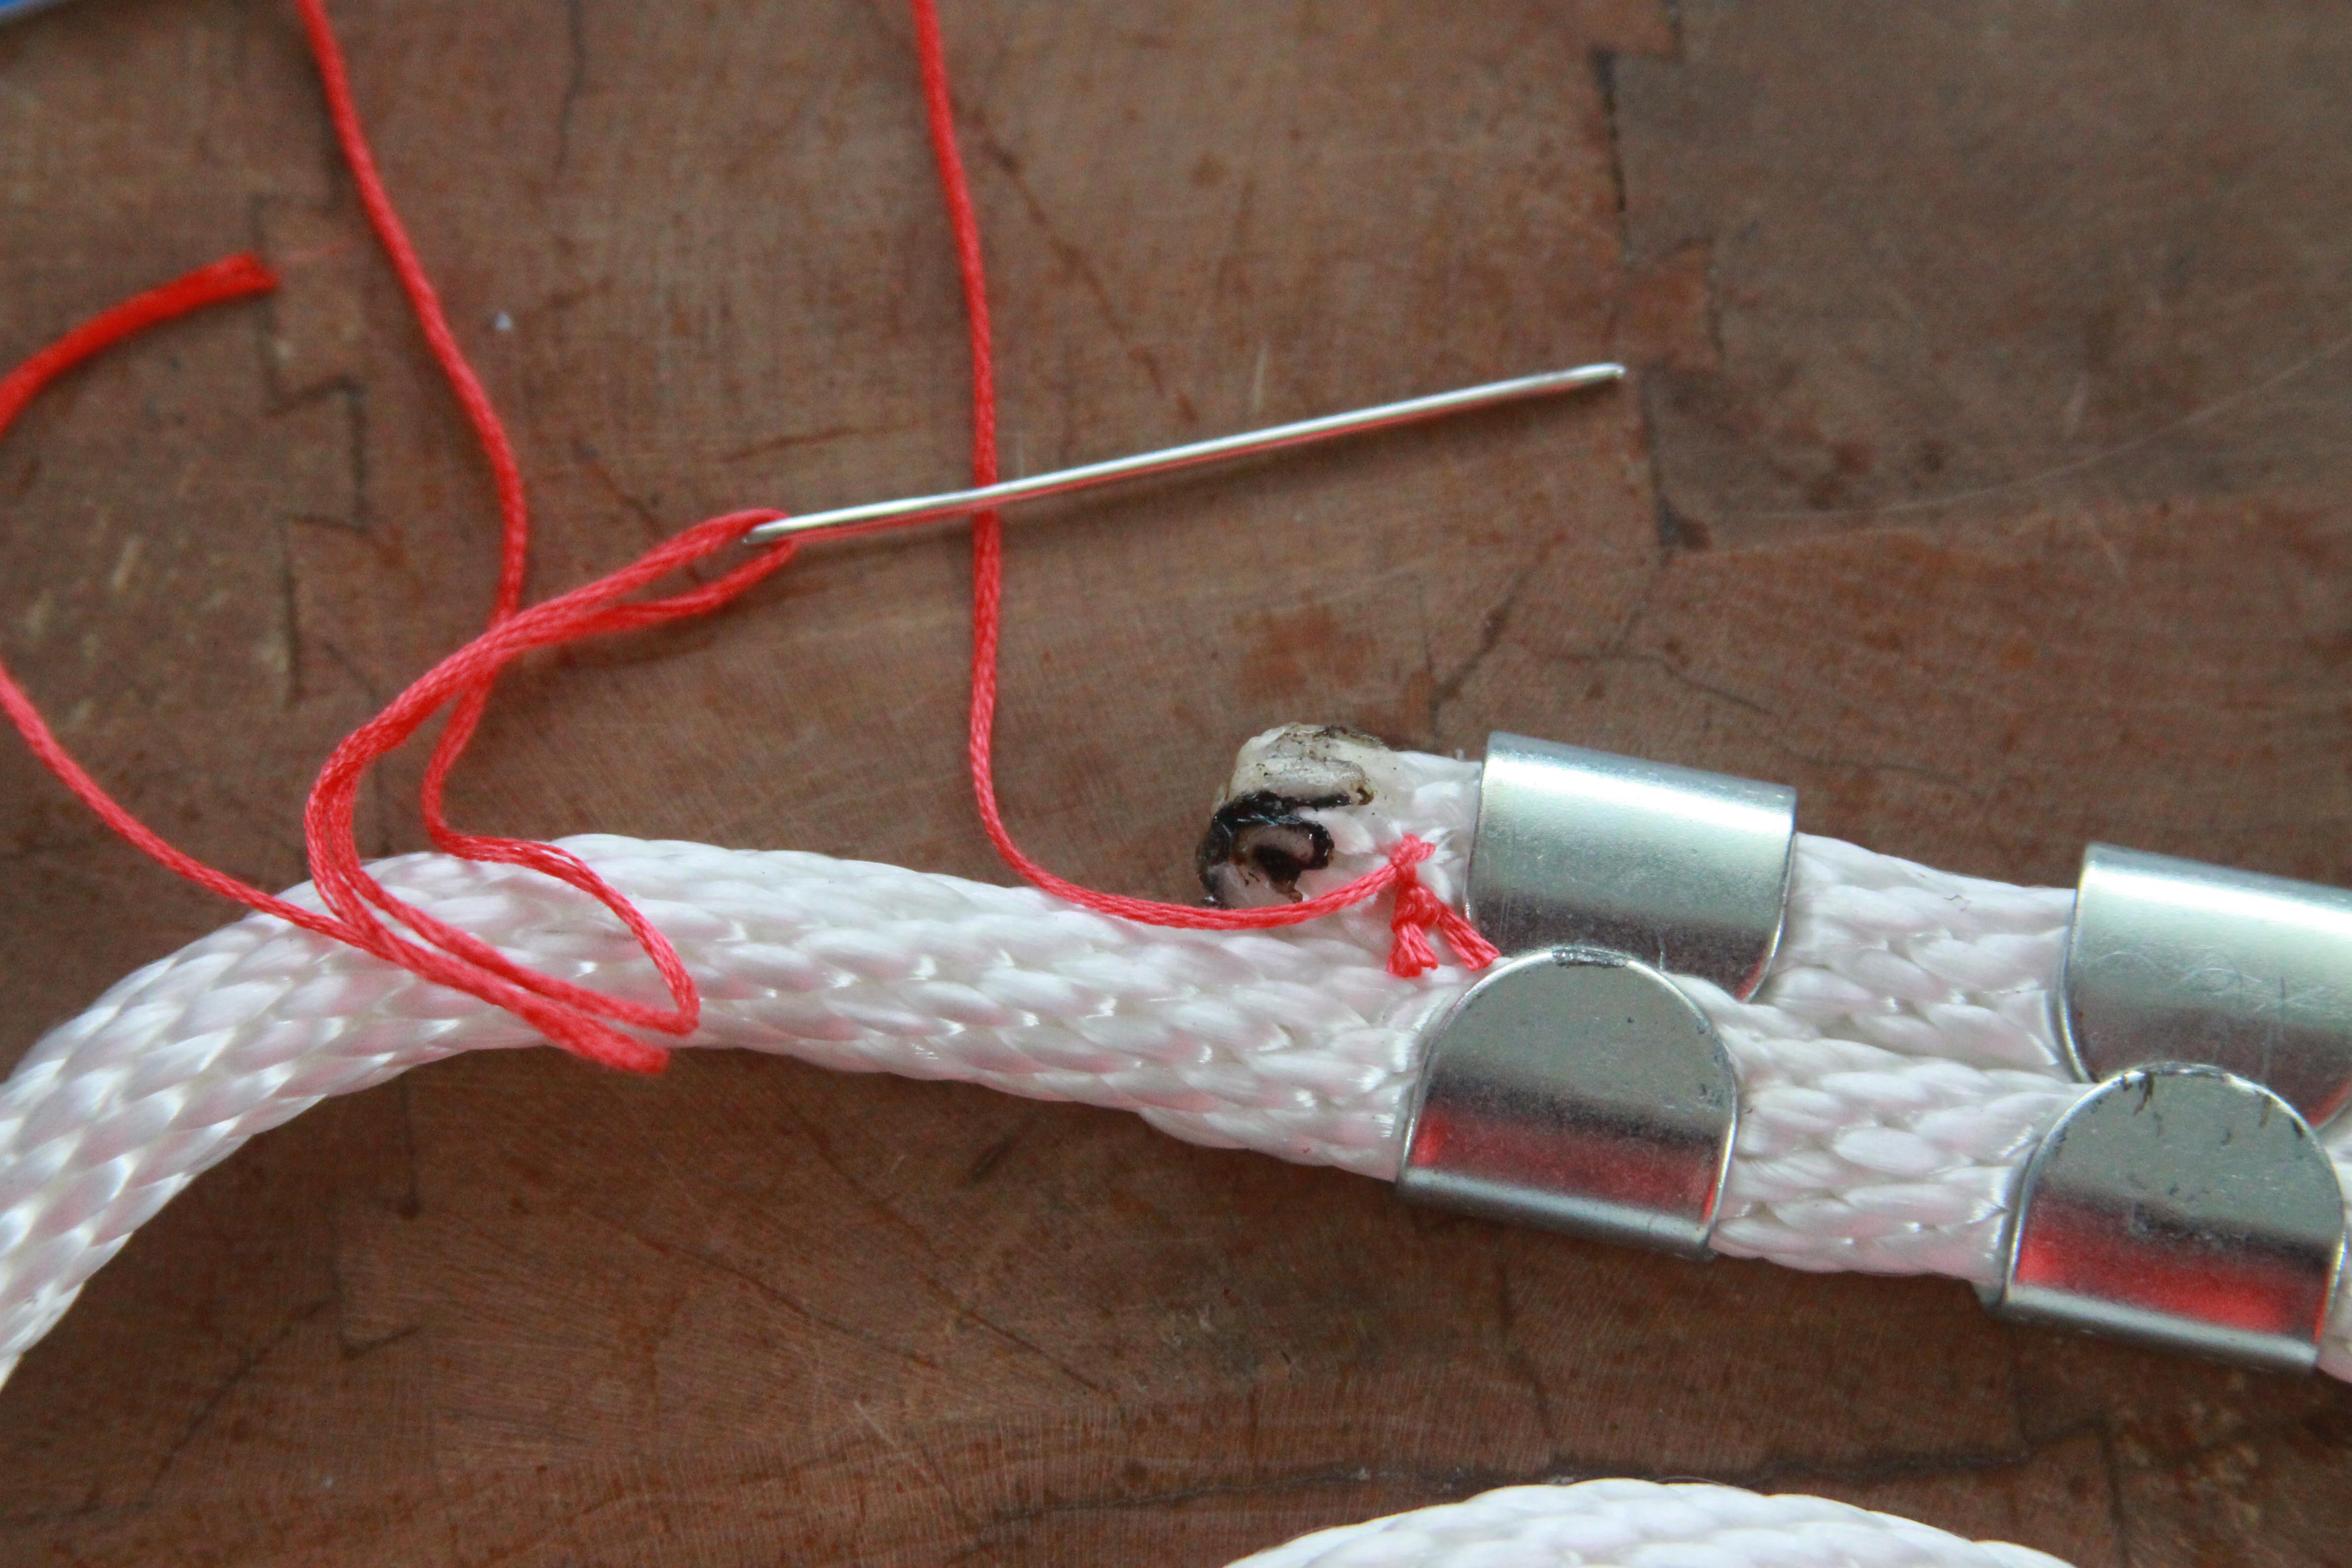
STEP 7
Thread your needle with a piece of embroidery floss that is knotted one one end. Secure your thread to the rope at the base of the clamp with a couple knots.
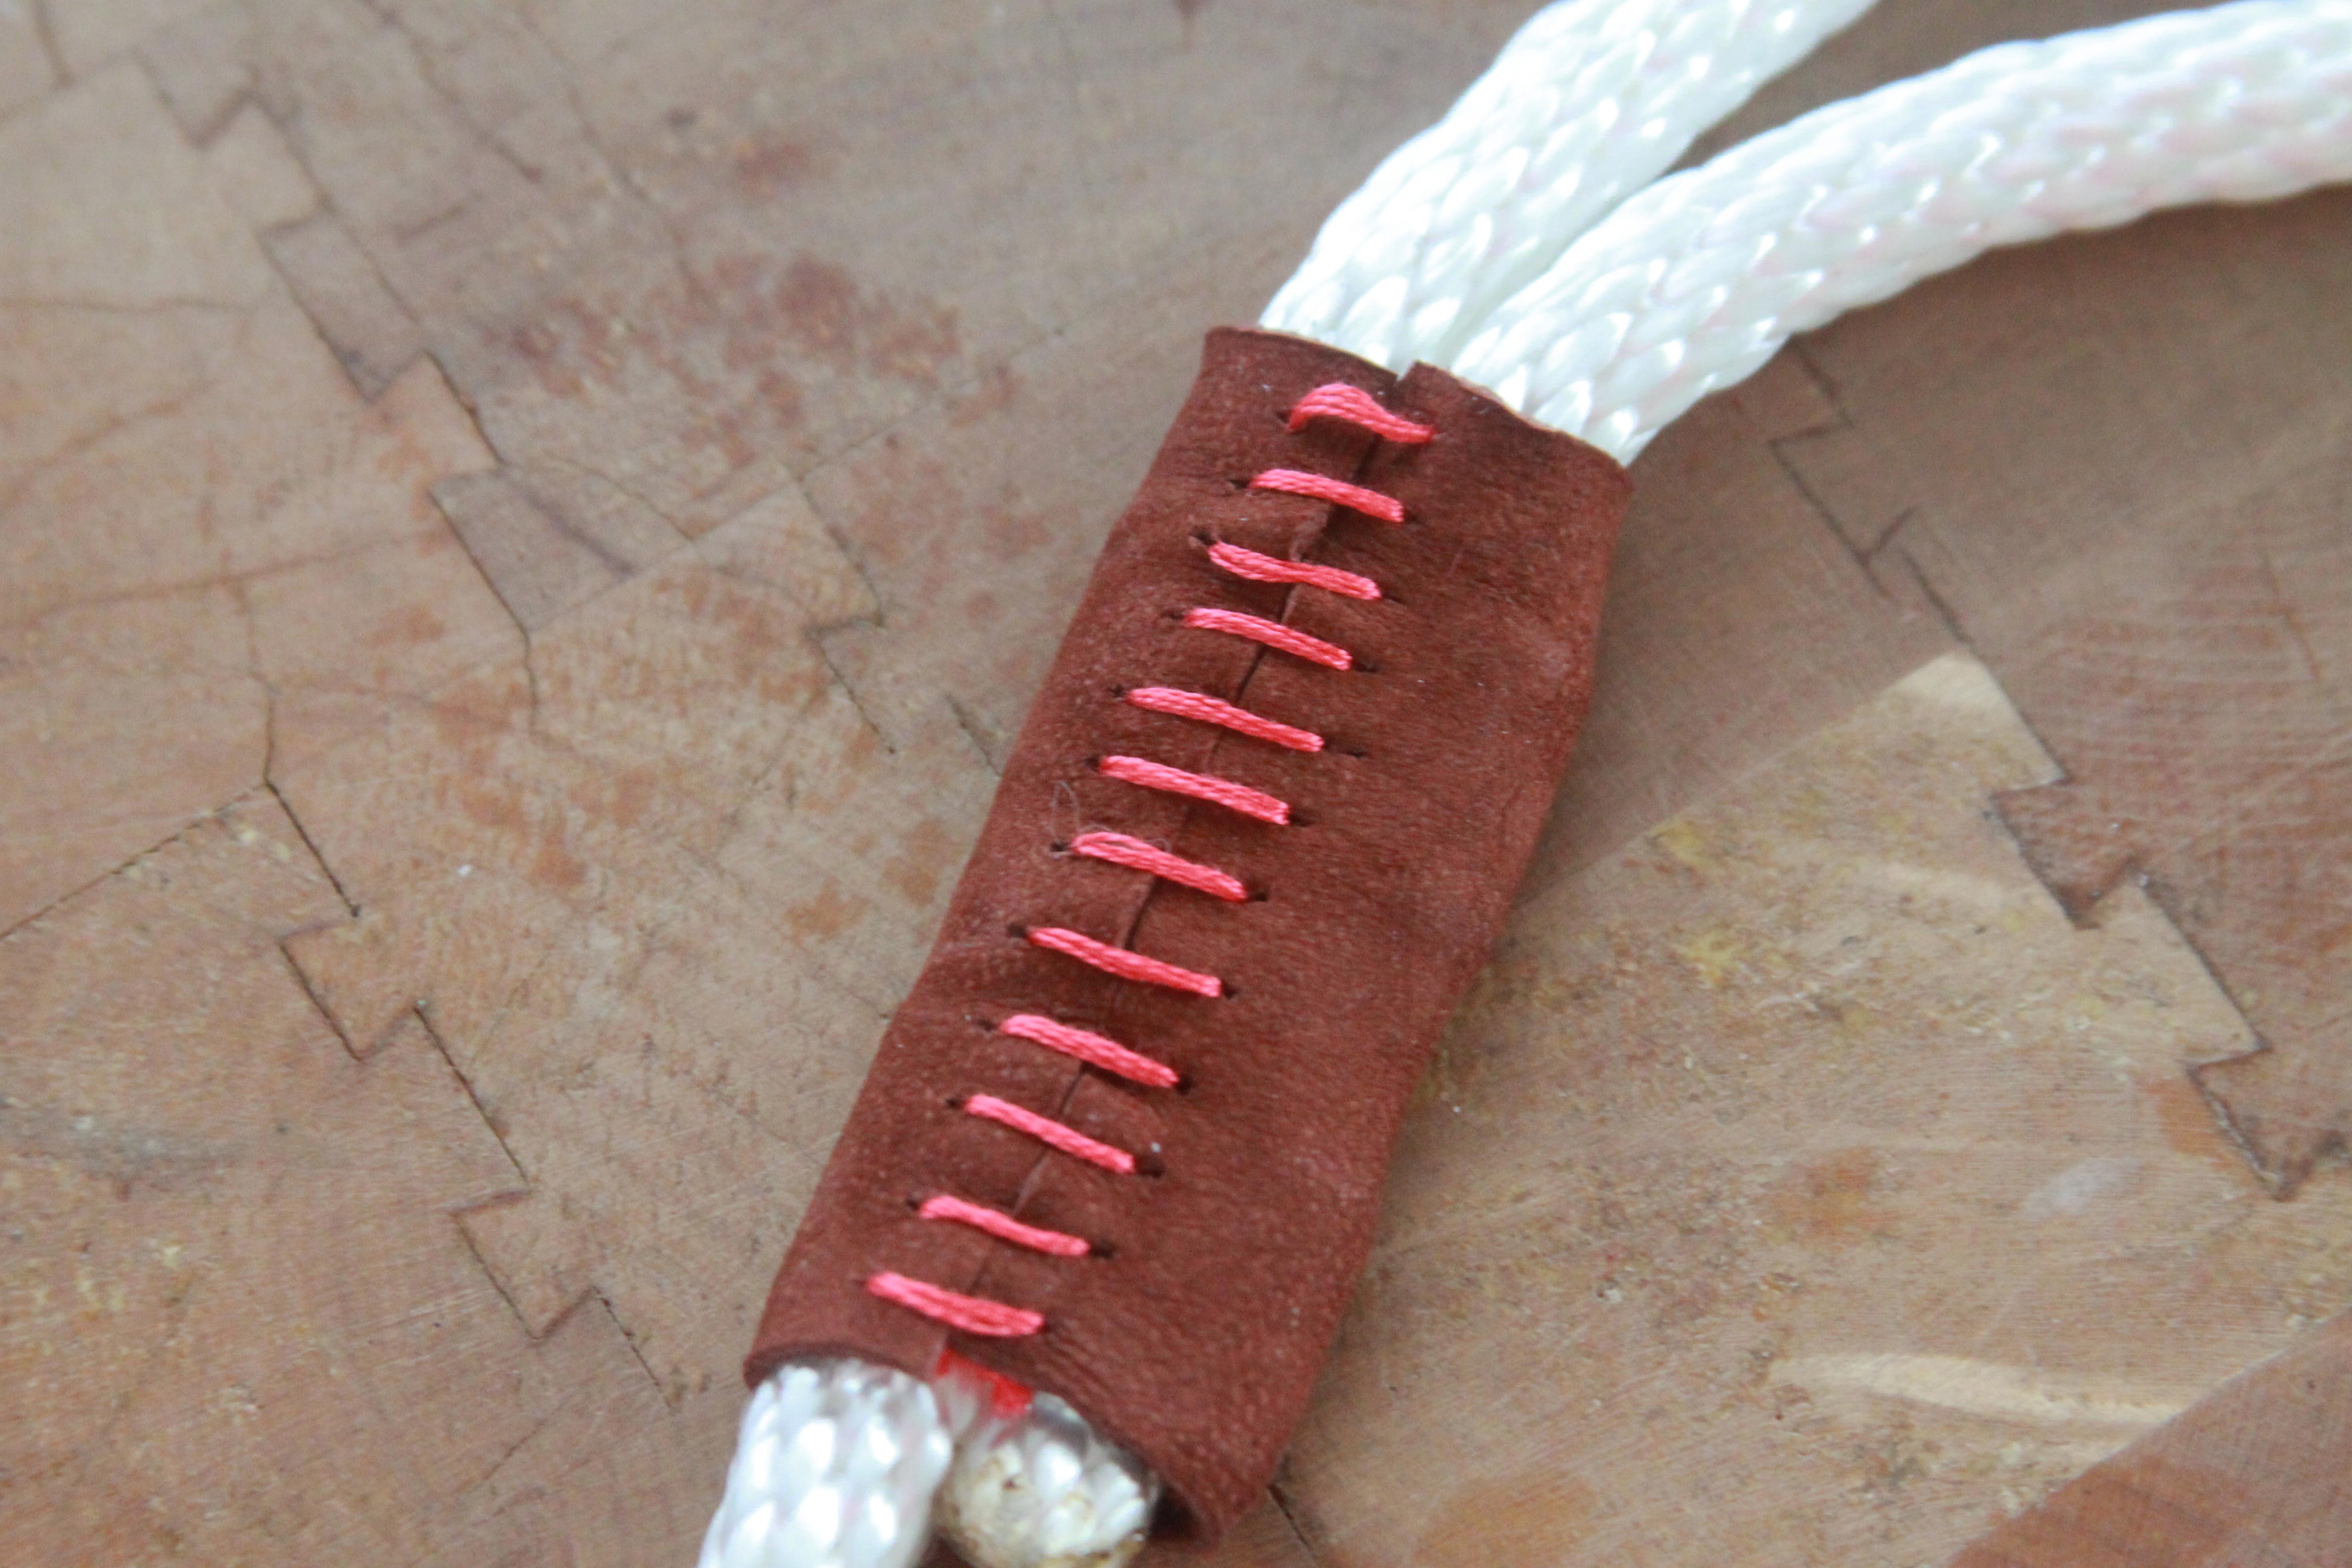
STEP 8
Next, stitch the edges of the leather together through the holes already created in the leather. Repeat with the remaining clamp and piece of leather.
And that’s it! I’m certainly not a master of crafting by any stretch of the imagination, but I found this craft fun and easy to do. And I love the result! I already used the leashes with Nutmeg and Pippa and have found them to be cuter and more comfortable to hold than traditional leashes.
If you wanted an even more polished look, you could easily use dye to color the rope, or buy a type of rope that isn’t as white and polished as this rope is. However, keep in mind that you’ll actually be holding this rope in your hands so you want it to be somewhat comfortable.
Happy crafting!
Madison