 First things first, a little bit of business to discuss. A number of you have requested that I make my recipes easily printable. Ask and you shall receive! Recipe will now be formatted so you can print recipes without having to print the entire web page. Enjoy!
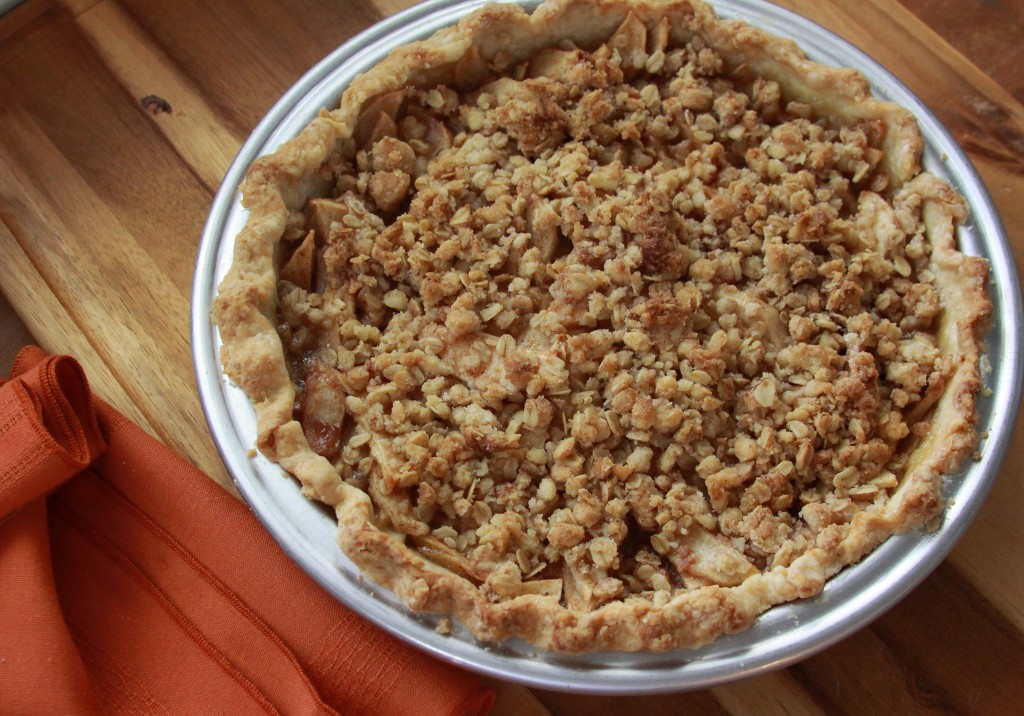
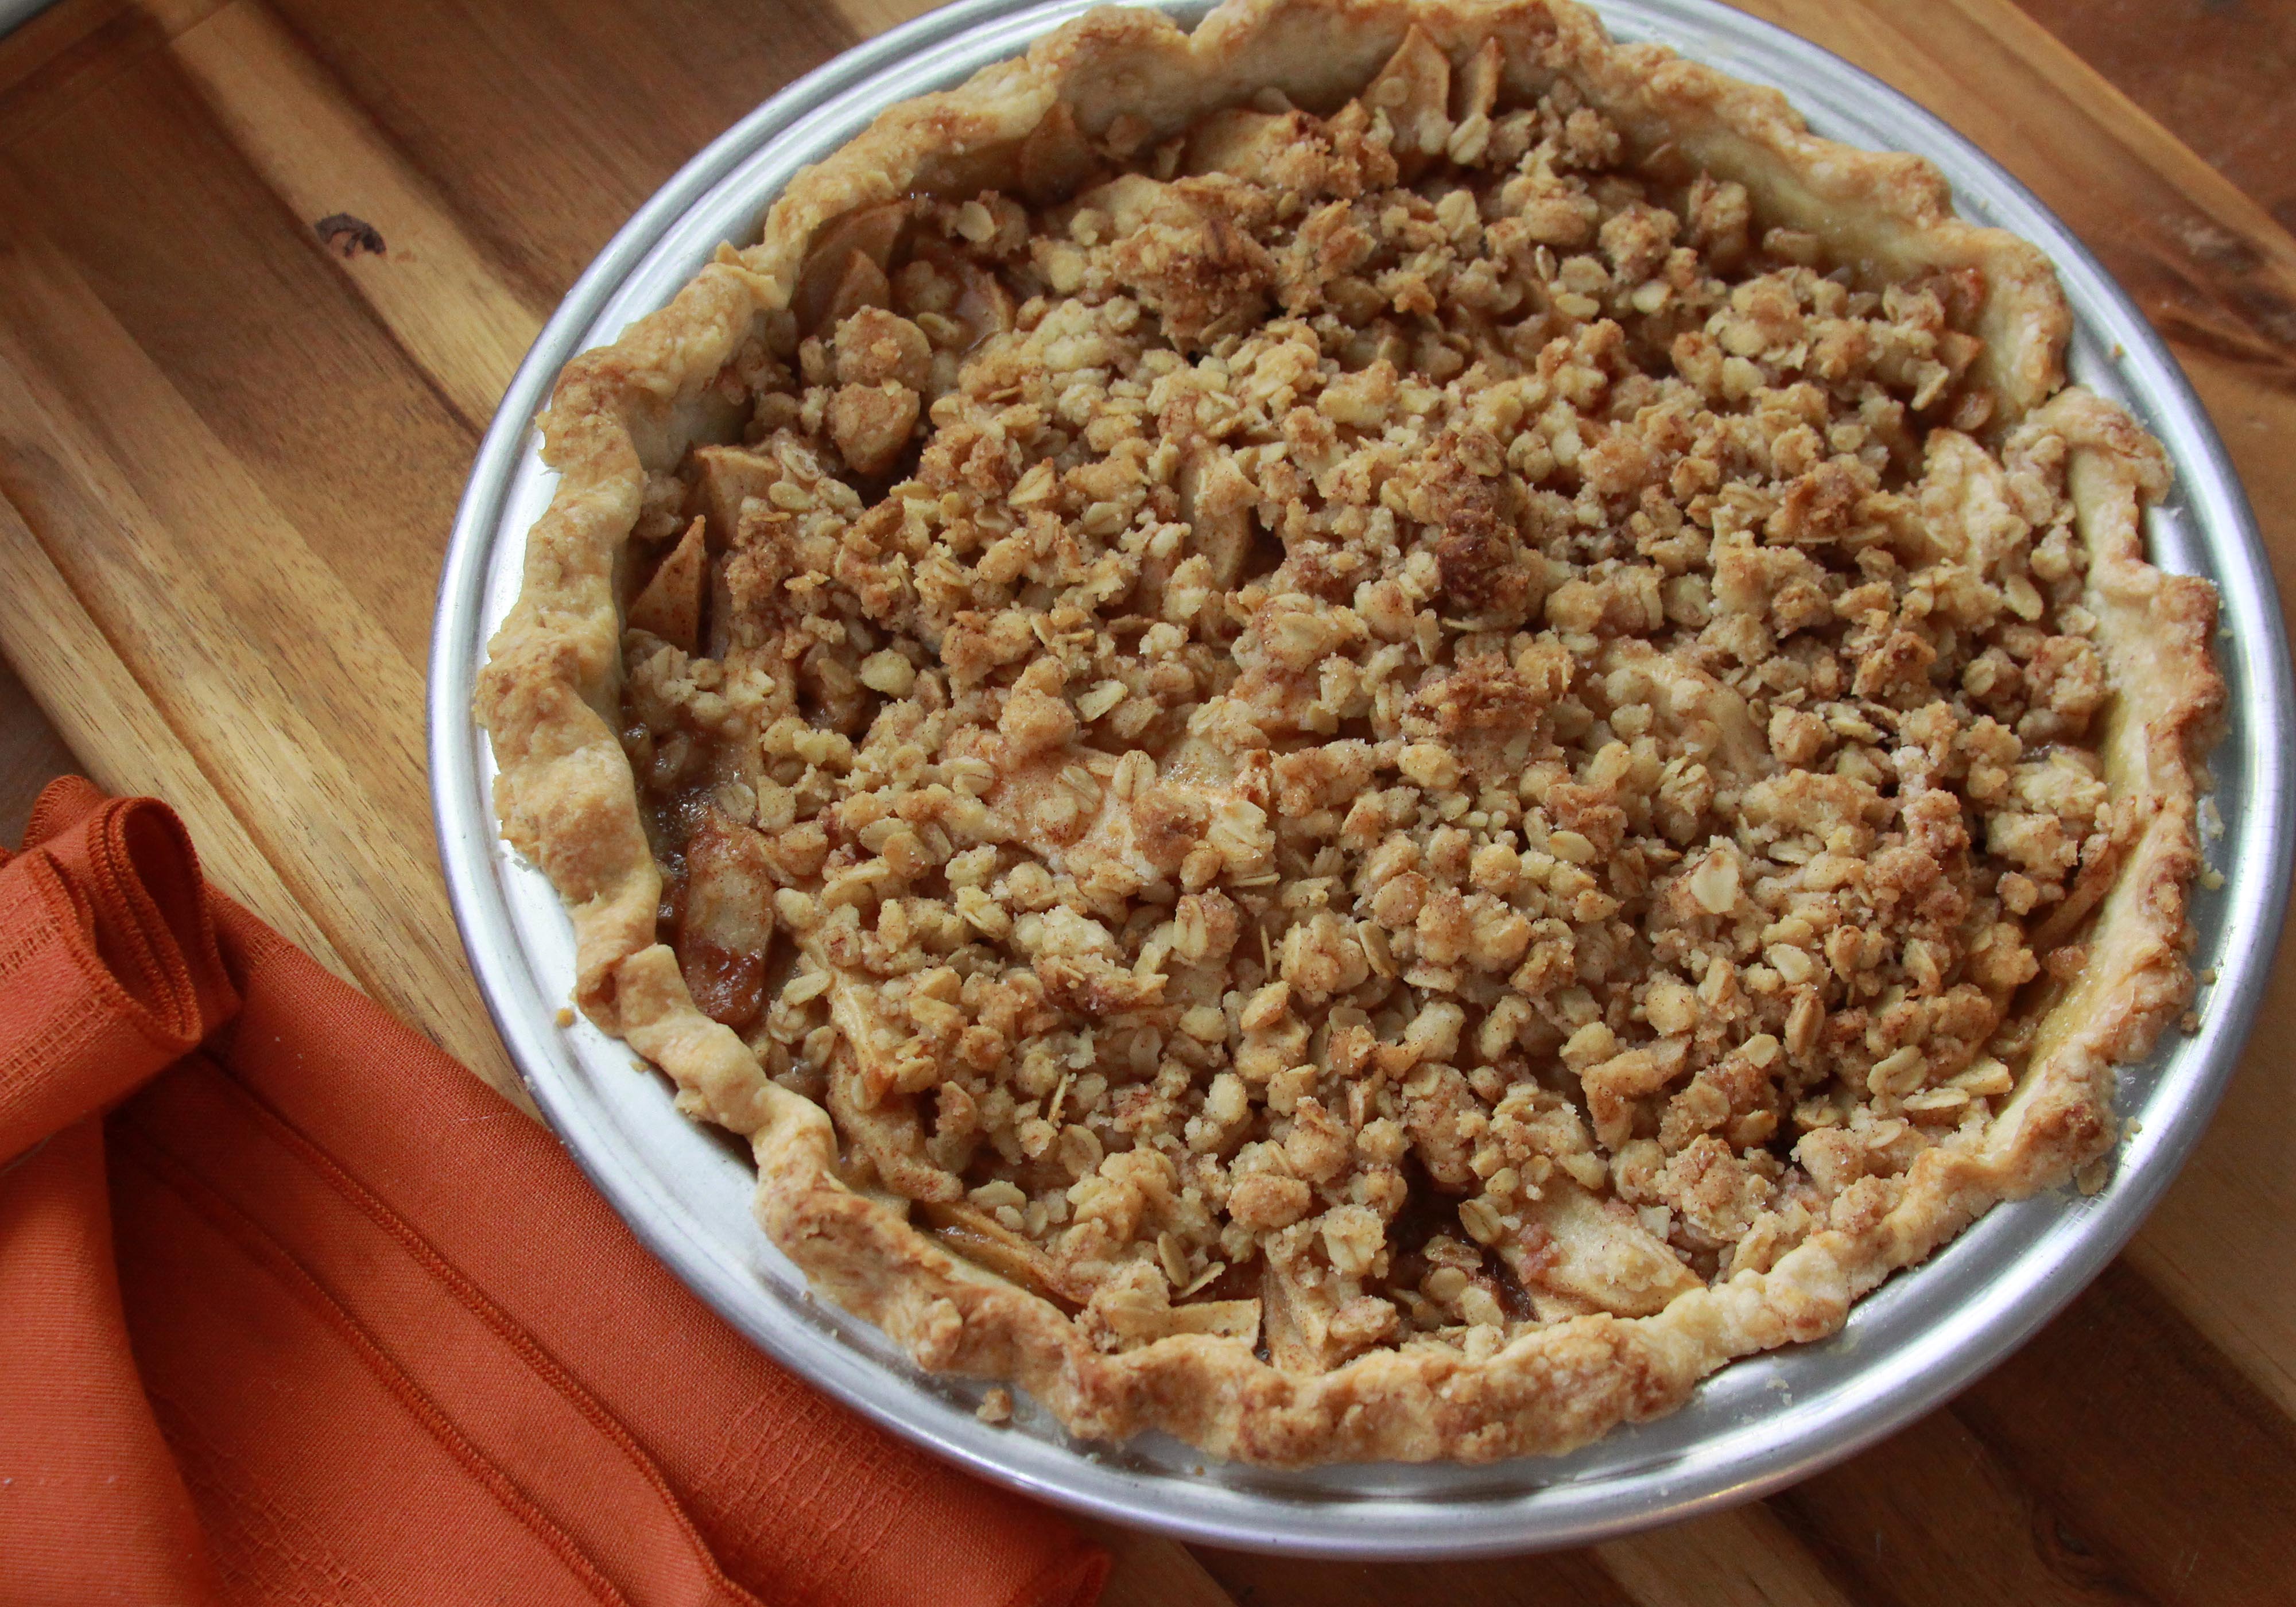
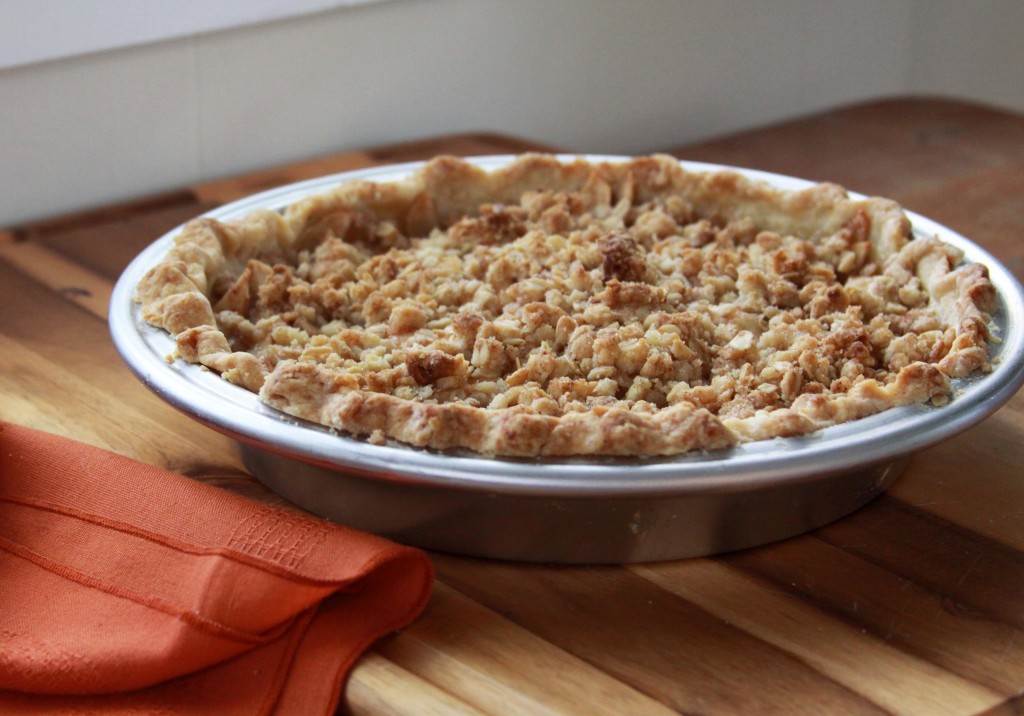
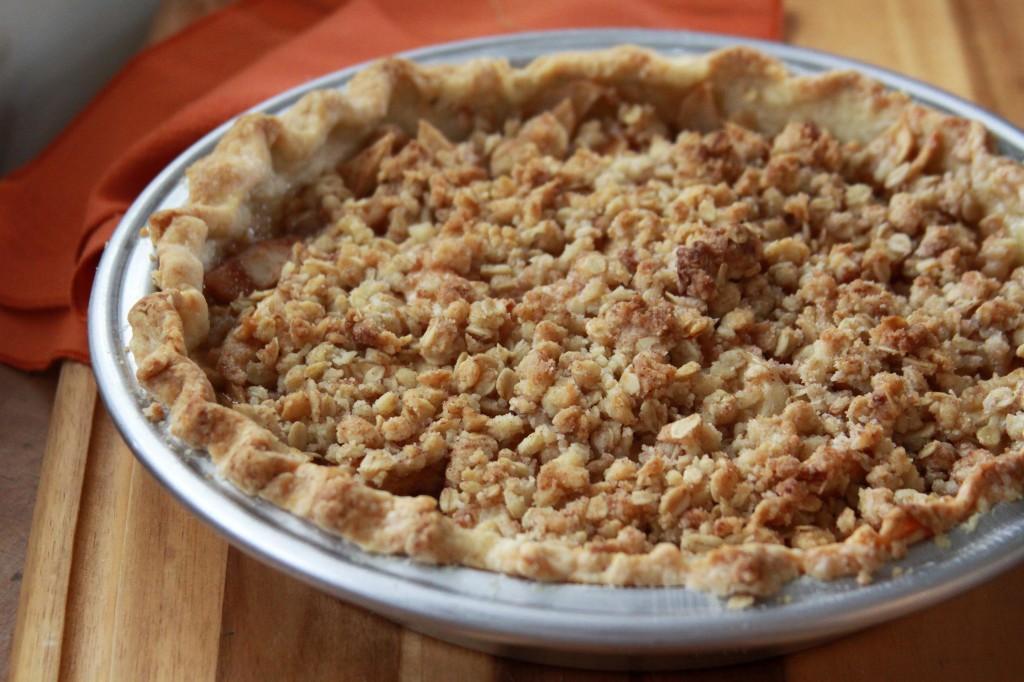
If you look closely at the photos of this apple pie, you’ll notice that the edges are not crimped perfectly. There are spots where I had the right amount of dough and spots where I was a little short and didn’t have the amount needed to properly crimp the edge. The perfectionist in me absolutely hates that.
After making two pumpkin pies that tasted amazing but had crusts that were less than bakery perfect, I decided to really devote myself to making a pumpkin pie that looked pretty enough to be in a magazine. We had Joe’s co-workers and their wives over for dinner last Thursday and, selfishly, I wanted my pie to look perfect. In all my effort to make the perfect looking pie crust, I committed the cardinal sin of pie making: I totally over-worked the dough.
I’ve been known to be a harsh critic of my own cooking, but I’m not exaggerating when I say that it was the toughest most inedible pie crust I’ve ever baked. Joe noticed. I noticed. I’m pretty sure a couple others at the table noticed, too, considering plenty of crust went uneaten at the table that night. Looking back, it’s pretty funny. At the time, I was mortified.
I really wanted to apologize right then and there to everyone at the table for my terrible pie crust. I make my living as a food editor, for goodness sake! I develop and test recipes every single day. This rookie mistake? Totally unacceptable. But instead I bit my tongue and didn’t say anything, letting the moment pass and dinner conversation carry on. Maybe our new friends did discuss my crappy pie crust in the car on the way home. But I have a feeling they probably didn’t give it much thought, and certainly less thought than I did.
My grandmother was one of the best pie bakers around. Every fall she would make dozens of apple pies with apples from her farm and store them in the freezer for her kids and grand kids to enjoy throughout the year. One hallmark of her pies was the fact that they weren’t the prettiest pies. In fact, you might say they were a little homely. But what my grandmother lacked in finesse she made up for in flavor and texture.
Thinking about her delicious pies, imperfections and all, gave me the motivation to get back in the kitchen after my crust failure and enjoy baking this Apple Streusel Pie without the need to make it look perfect. Sure, it’s a heck of a lot less pretty than my pumpkin pie at our dinner party, but I can assure you it tasted a whole lot better.
- 1 recipe Pastry for Single Crust Pie (your favorite recipe)
- 6 cups peeled, cored and thinly sliced aples
- 2 tablespoons butter, melted
- ¾ cup sugar
- 2 tablespoons all-purpose flour
- ½ to 1 teaspoon cinnamon
- ¼ teaspoon nutmeg
- Streusel Topping
- ½ cup rolled oats
- ½ cup all-purpose flour
- ⅓ cup sugar
- ¼ teaspoon cinnamon
- 4 tablespoons butter, melted
- Heat oven to 375F. Unroll pastry crust into 9-inch pie plate. Flute edges, if desired.
- In large bowl, toss together the apples and melted butter. In small bowl, combine sugar, flour, cinnamon and nutmeg. Add flour mixture to apples and toss until well combined. Transfer mixture to pastry-lined pie plate.
- In medium bowl, combine oats, flour, sugar and cinnamon. Toss until well combined. Add melted butter and work together with your hands until combined and only small clumps remain. Sprinkle on top of apples.
- Cover pie with aluminum foil. Bake 20 minutes. Remove foil, bake 40 to 50 minutes more or until crust is golden brown and apples and bubbly and baked through.
Happy Baking!
Madison


