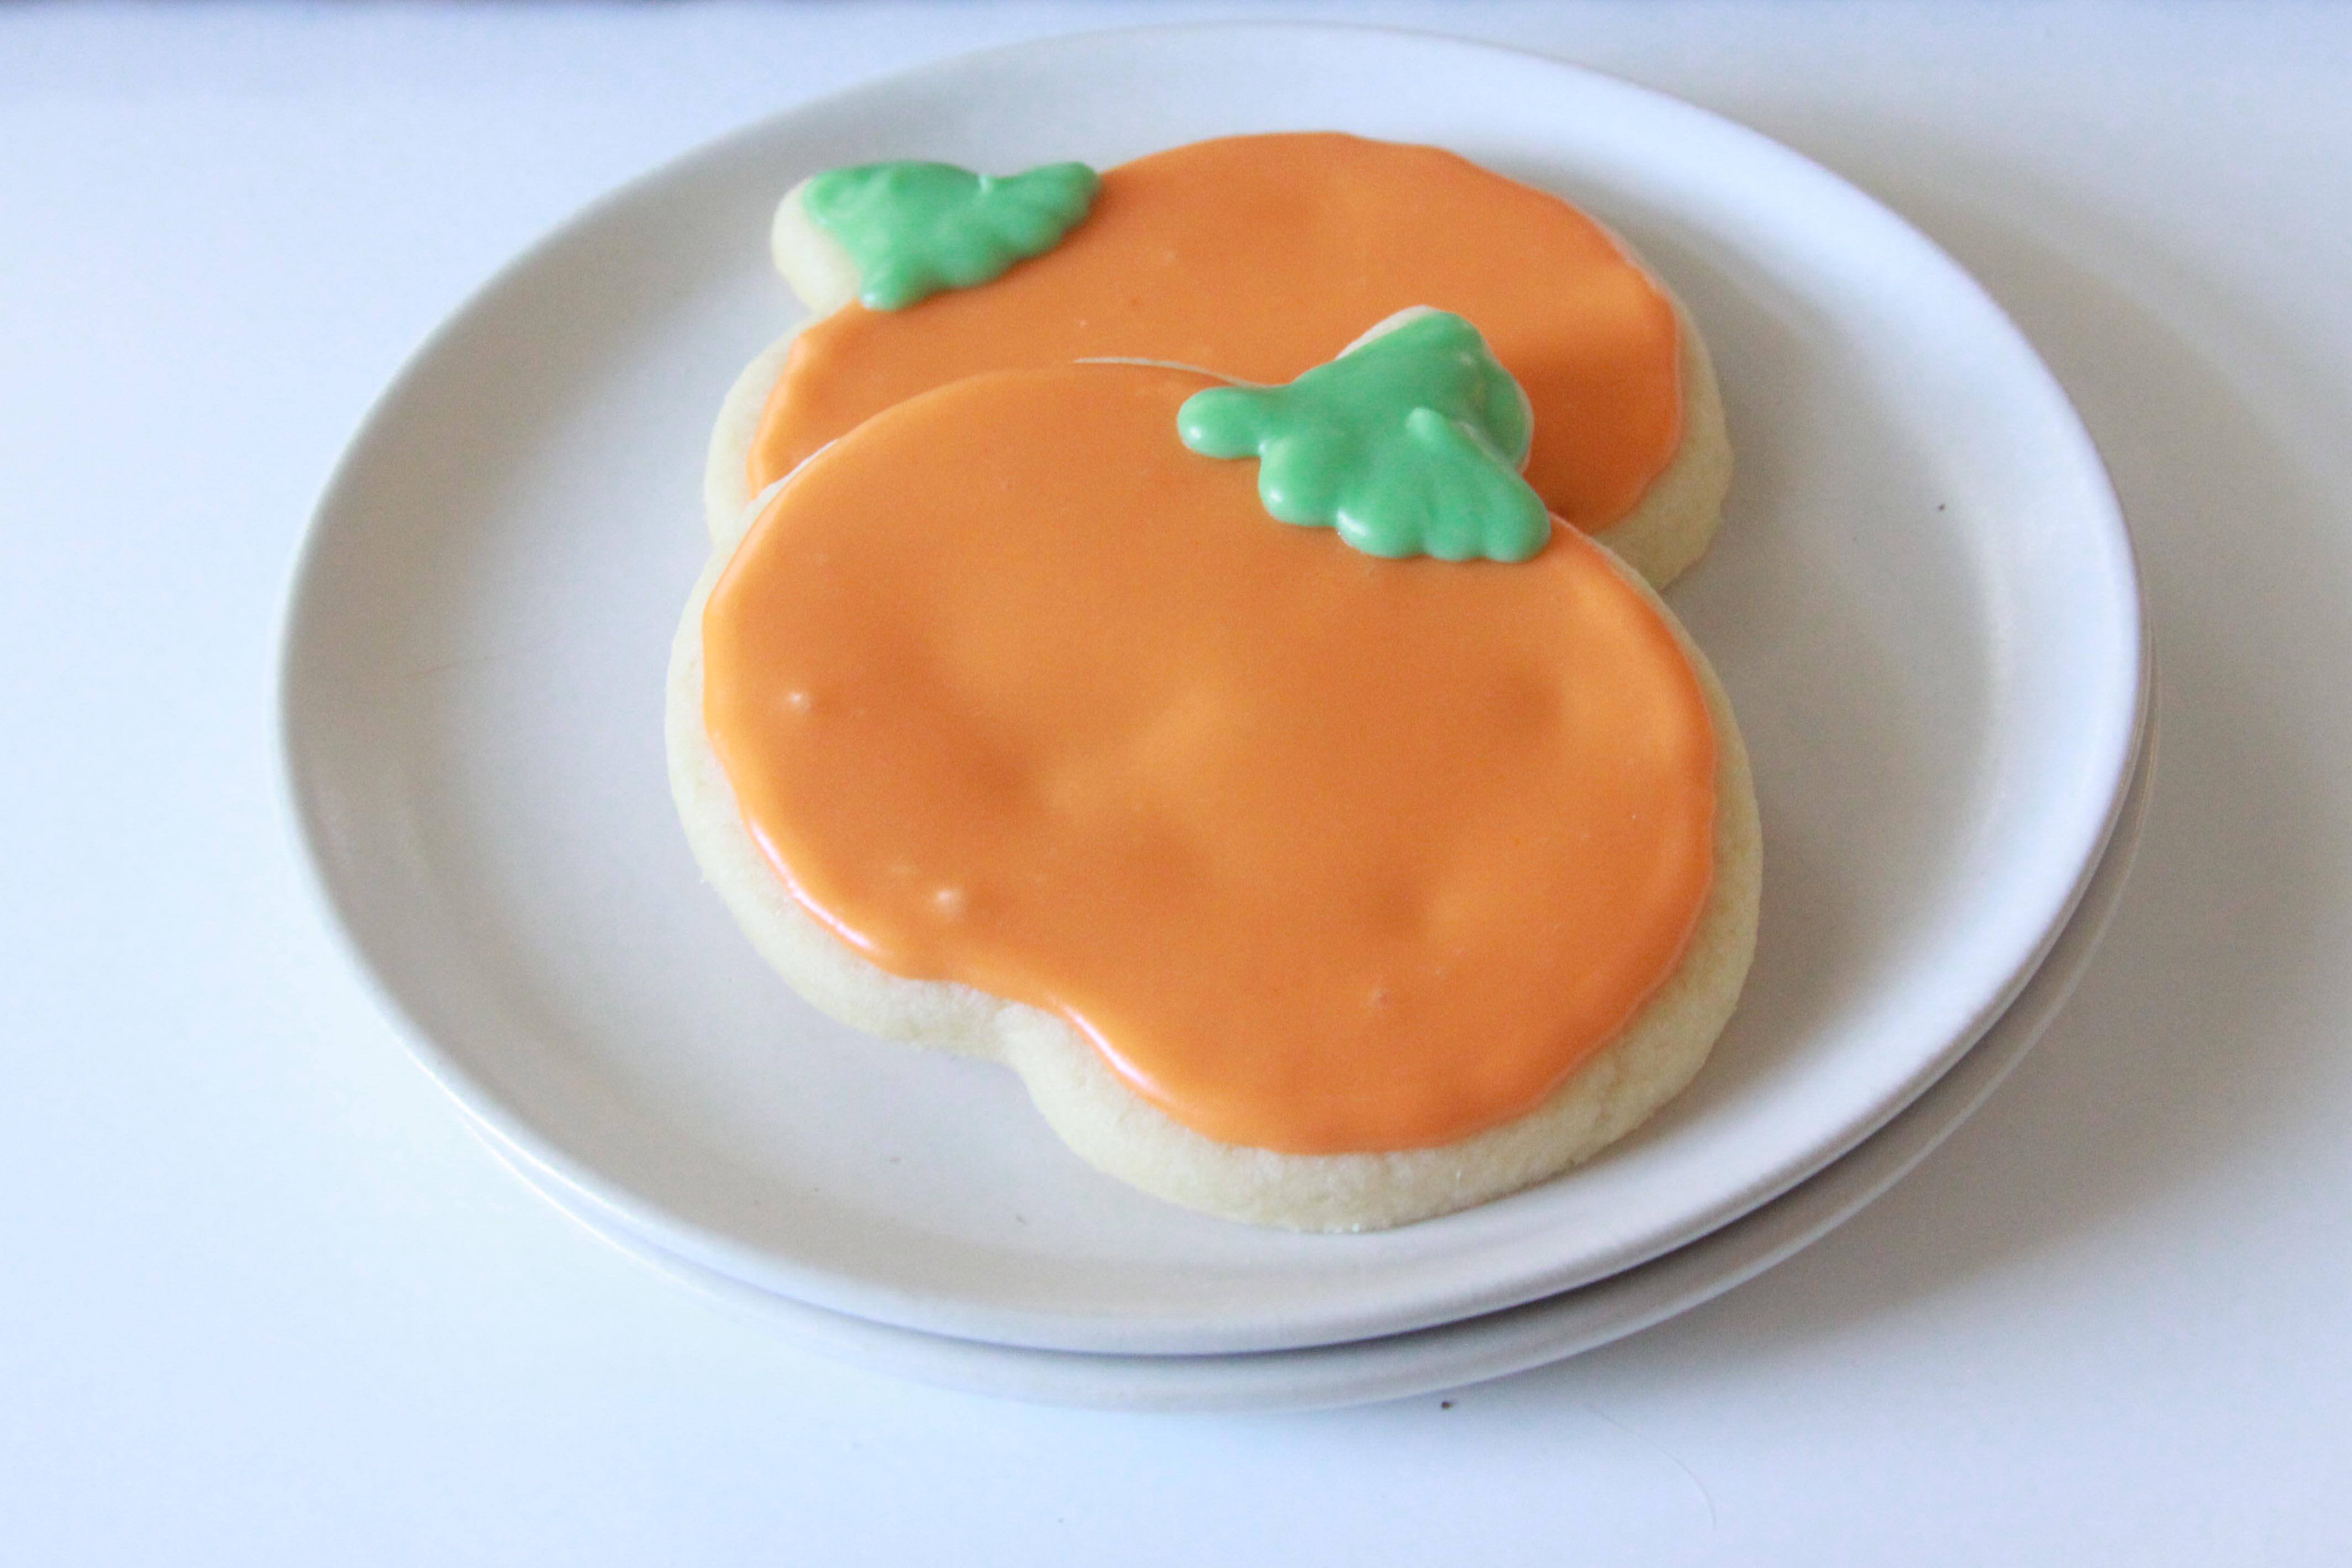
It’s not often, but every once in a while I get the urge to bake something cute. I should clarify that “cute food” really isn’t my thing, but sometimes it’s pretty hard to resist the seasonal section at Target and I leave with, say, a pumpkin cookie cutter and fall-colored sprinkles that I didn’t even know I needed. Dang you, Target. Thankfully, the cookie cutter was only $1, meaning you, too, can easily get caught up in the excitement of fall, cute food and all things pumpkin.
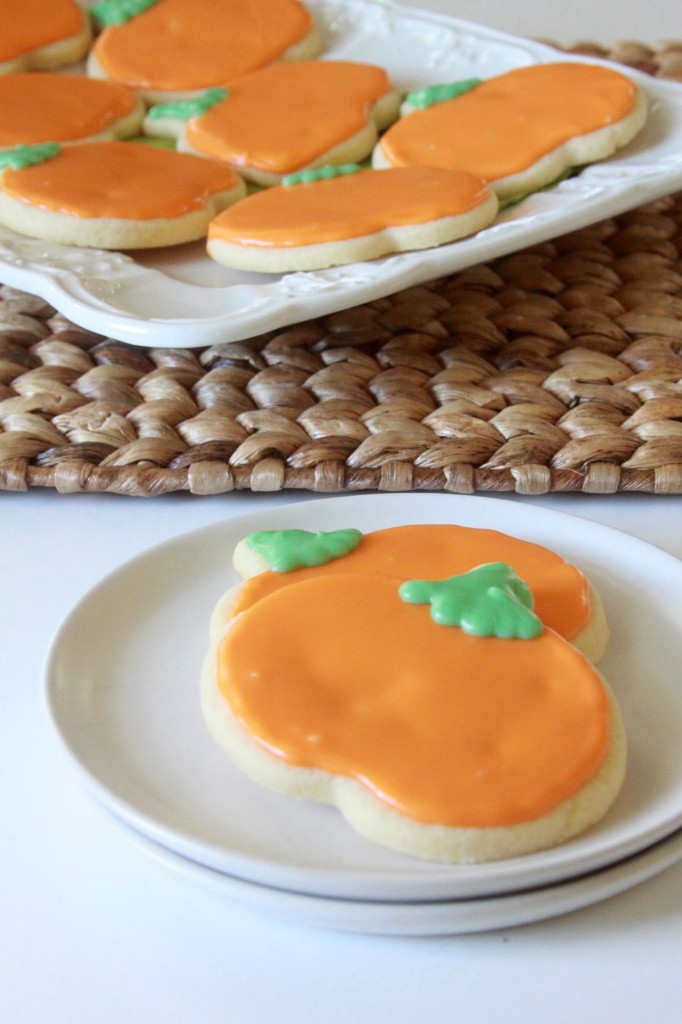
Since everyone is posting pumpkin-flavored desserts, I decided to go with something that looked like a pumpkin rather than tasting like one. Although these cookies may look like a lot of work, they really aren’t too much of a pain to make since the decorating is on the simple side. And for a little extra time and effort, it’s worth it for the adorable end result.
This frosting is incredibly easy to work with and very versatile. The key to getting the glassy look on the cookies is to outline with a stiffer frosting, then thin the remaining frosting with a bit more milk so it spreads easily when put in the center of the cookie. The border you piped around the edge will prevent the thinner frosting from dripping out all over the cookies and give you a polished, perfect look. I could easily see this recipe be adapted for other Halloween shapes, like a bat or ghost. The sky’s the limit!
- ¼ teaspoon salt
- ½ teaspoon baking powder
- 3 cups all-purpose flour
- 1¼ cups butter, softened
- 1 cup sugar
- 1 large egg
- 1 egg yolk
- 1 teaspoon vanilla or almond extract
- Decorator Frosting
- 4 cups powdered sugar
- 4 tablespoons butter, melted
- 3 to 5 tablespoons milk, plus more for thinning
- 1 teaspoon vanilla or almond extract
- Orange and green food coloring
- Heat oven to 325°F. In large bowl, combine salt, baking powder and flour until well combined.
- In a separate bowl, using an electric mixer on high speed, beat butter and sugar until smooth and well combined. Beat in the egg, egg yolk and vanilla or almond extract. Add flour mixture to wet mixture and beat until just combined.
- Place on lightly floured surface and roll to ¼-inch thickness. Cut into pumpkin shape using a pumpkin cookie cutter and place on parchment-lined baking sheets. Bake 10 to 12 minutes or until edges are just lightly golden brown. Cool 5 minutes on cookie sheets. Transfer to wire cooling rack to cool completely.
- Meanwhile, prepare the frosting. In a large bowl, combine the powdered sugar, butter and milk until smooth and well combined. Use enough milk to create a frosting that is smooth but firm enough to pipe through a pastry bag.
- Place ¼ of the frosting in a small bowl and color with green food coloring. Color remaining frosting in large bowl with orange food color. Place a small amount of the orange and green frostings in pastry bags or zip top bags with the end snipped off. Use orange frosting in pastry bag to pipe a border around the edge of the pumpkin.
- Add an additional 1 to 3 tablespoons milk to the remaining icing until it is slightly softer and runs a little more freely. Spoon a small amount of icing into the center of each lined cookie. Tilt the cookies around so icing in center completely fills the outlined cookie.
- Repeat process with the green frosting on the stem. Allow cookies to set, about 30 minutes.


